Looking for something else?
Try one of these!
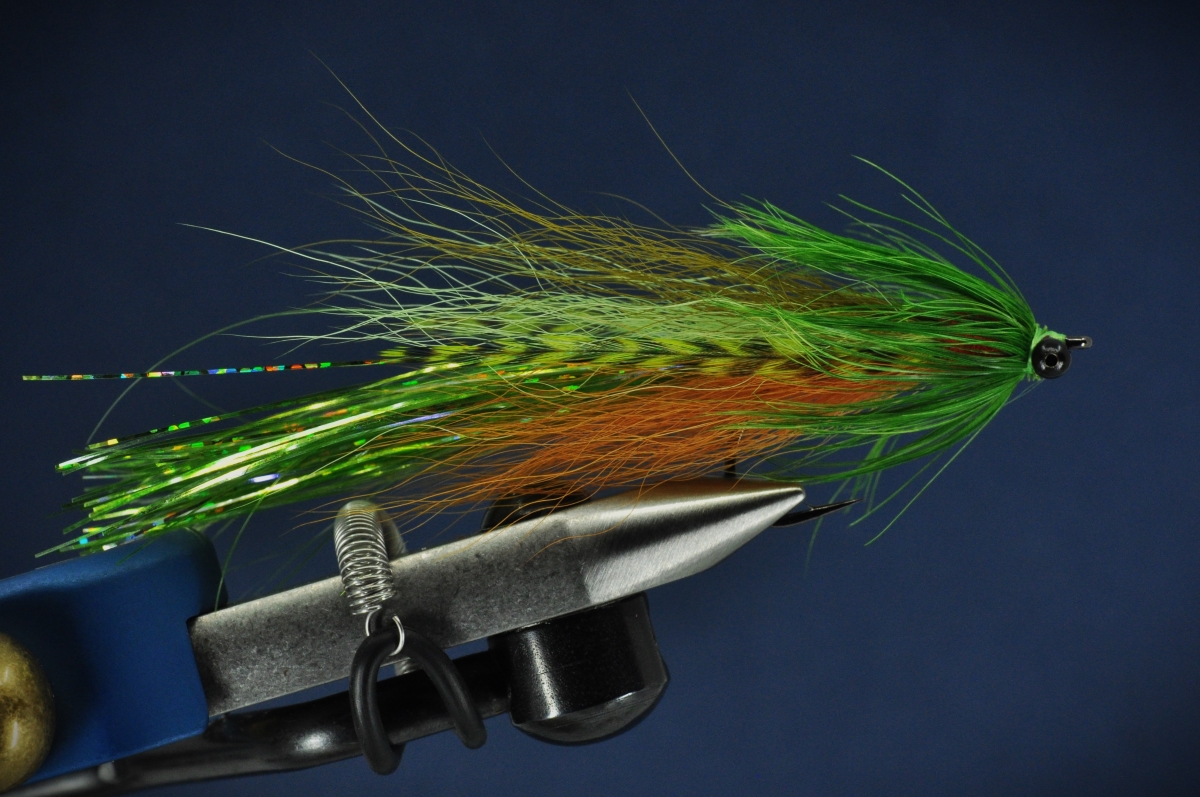
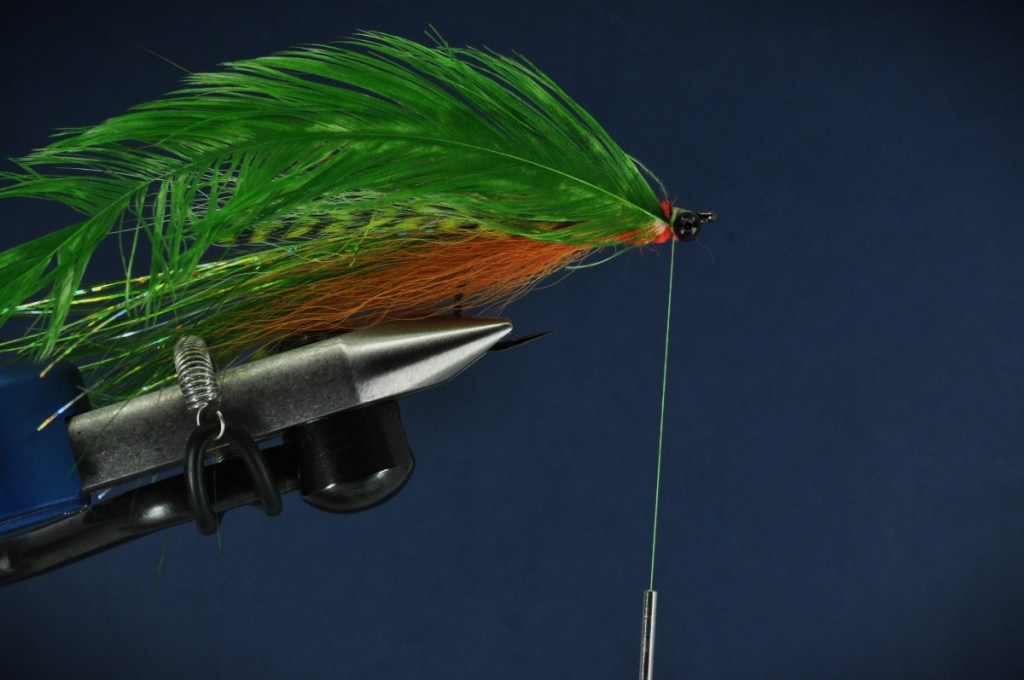
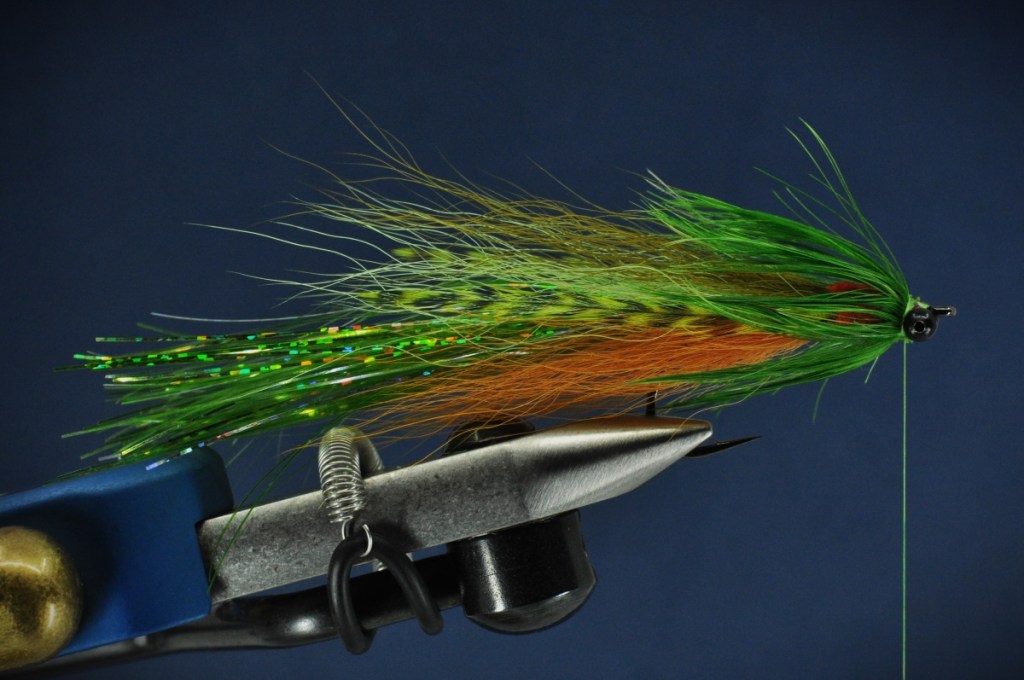
Flashtail Whistler Streamer Step-by-Step:
With my next south Florida trip just around the corner, I’m once again focused on stocking my streamer box in preparation. This week, that preparation is taking the form of a classic predator pattern, the Flashtail Whistler.
The creation of Dan Blanton, the Flashtail Whistler is a proven pattern for a variety of species including Pike, Striper and Snook. Designed to be tied large, this streamer creates a large profile in the water while relying heavily on the fish attracting flash and movement of its Flashabou tail.
Tied here in a color pattern reminiscent of a juvenile peacock bass (or any number of other exotic south FL cichlids), I’m hopeful that this pattern will provoke a cannibalistic reaction from the larger Peas that stalk south Florida’s urban canals.


 Sharpies or
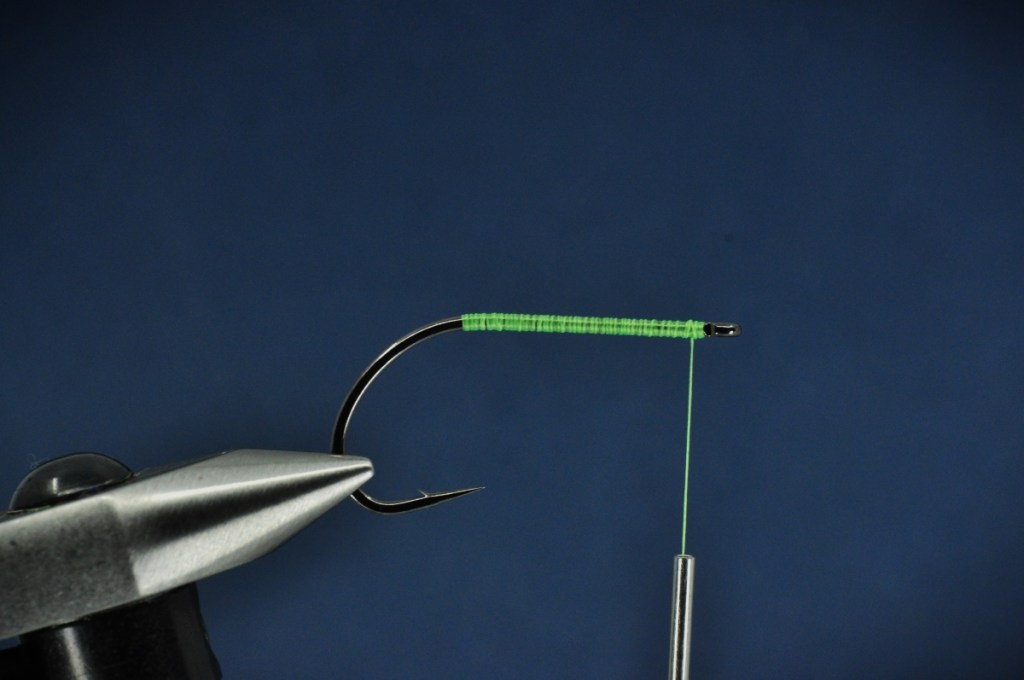
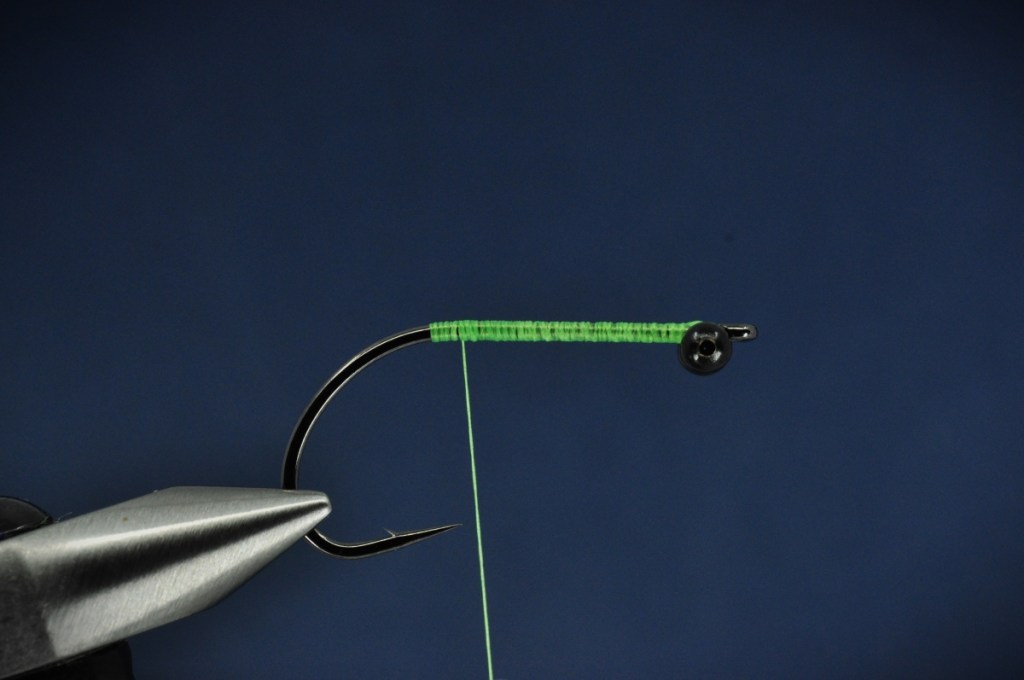
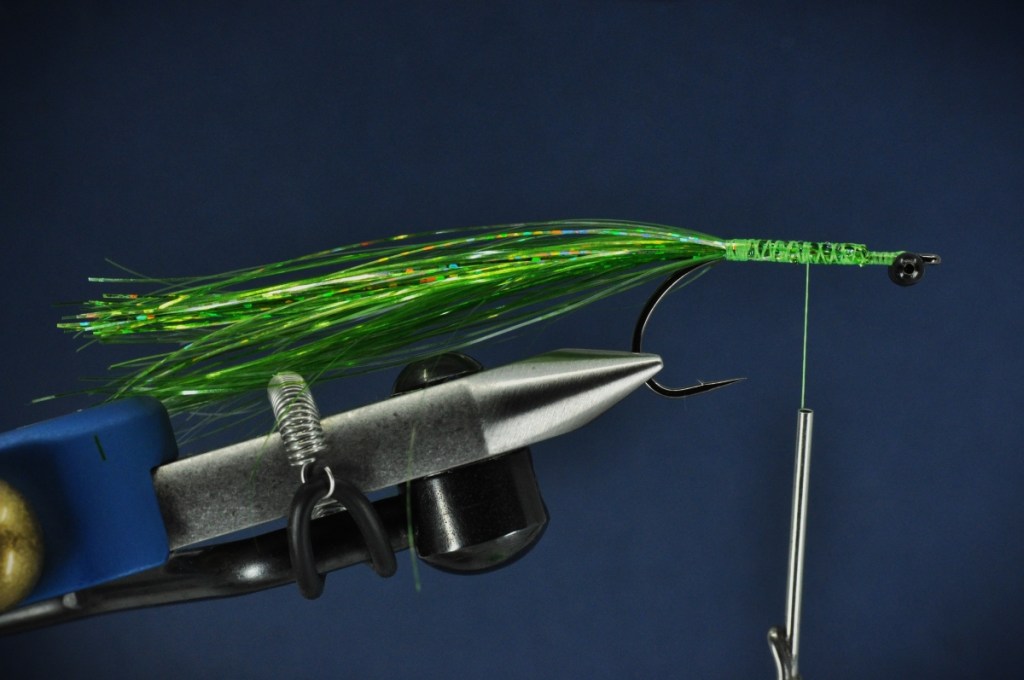
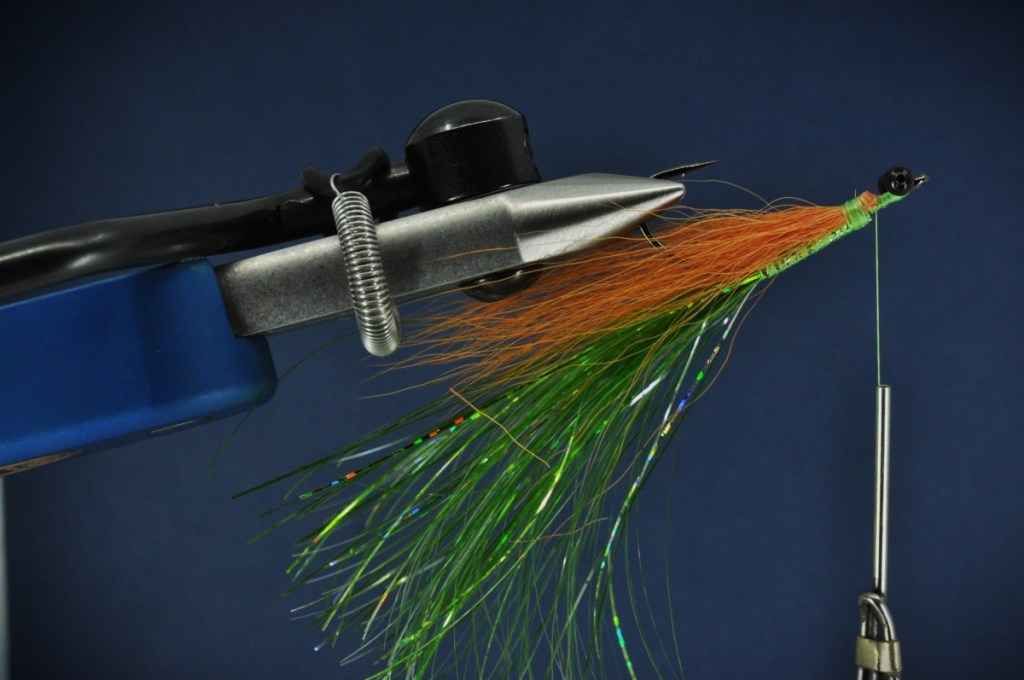
 Flashtail Whistler Streamer Step-by-Step Tying Instructions:
(Mobile Viewers: Click images to enlarge or rotate phone to landscape)


Tips and Tricks
- Color Selection – While I elected to mimic a juvenile Peacock Bass above, this pattern can be tied to imitate any forage species. For my purposes, this means I’ll also be tying a series of Orange/Red streamers to imitate Mayan Cichlids and some Silver/Gray versions to imitate shad.
- Skipped a Step – Upon completion of this tutorial, I realize that I skipped one step from my notes. Following the addition of the Grizzly Hackle as a lateral line, the pattern calls for the addition of a few strands of Krystal Flash along each side of the fly. While not completely necessary, be sure to include this step in at least a few of your ties.
- When you don’t have the right color – You may have noticed that I noted a Sharpie or Copic Marker in the material list above. While this can be used to add finishing touches to your fly (barring or spots, for example), I included this note as I found myself lacking Flashabou and Schlappen in the correct colors. Not wanting to purchase additional materials, I went ahead and pulled a few white schlappen feathers and pearl strands of flashabou from my kit. Lying both on a sheet of paper, I proceeded to color each with permanent marker until I had attained the desired color. Admittedly, this isn’t ideal, but it will certainly work in a pinch.
Proof of Concept
With less than 10 days until my next south FL trip, this fly should be proven out in the near future. Until then, you’ll have to go test it out yourself. And, if you happen to have some luck, let me know what you caught.
Tight Line!
Chris
Species Caught on the Flashtail Whistler to Date:
Enjoy our Content?
Subscribe below to be notified anytime a new Step-by-Step is added.
Support our Content
Enjoy our content & want to help support our work? Consider clicking one of the Ads below the article if something catches your attention. Each click brings in a small bit of revenue to help offset the cost of maintaining & hosting this great site!
In the right size and colors, this could be tied as a perch imitation for pike or bass.