Looking for something else?
Try one of these!
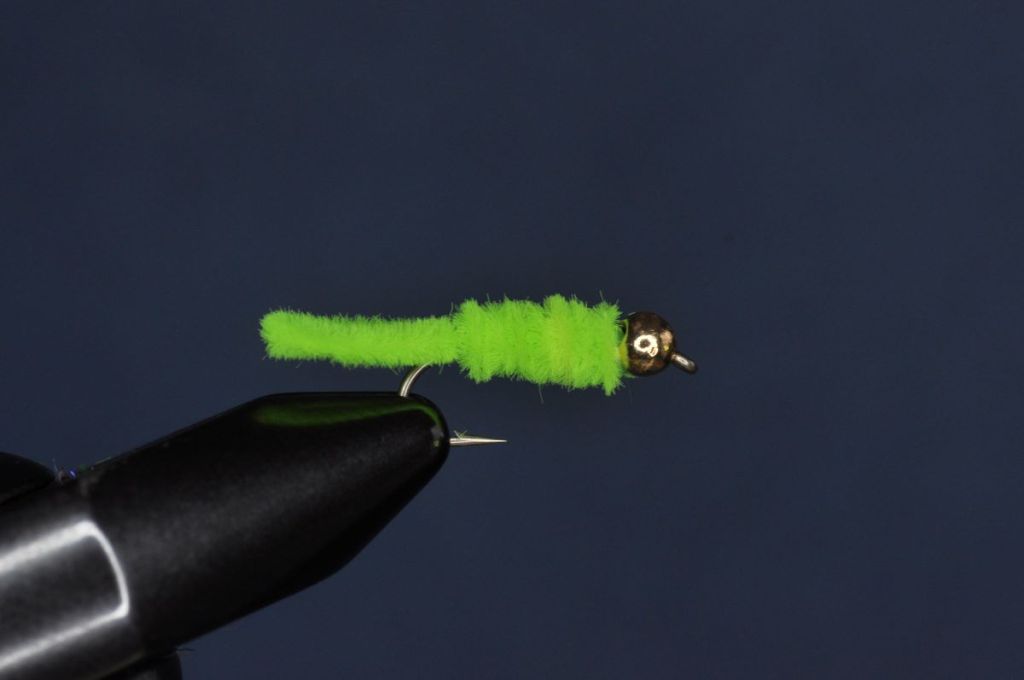
Green Weenie Fly Step-by-Step:
This week’s Step-by-Step has me back to day-dreaming of cool mountain streams as the oppressive heat and seeming constant thunderstorms of the south Louisiana summer keep me trapped in doors once again.
Tied to mimic a drowned inchworm, or, perhaps a bright green caddis larvae, the Green Weenie is a easy to tie Smoky Mountains favorite that belongs in every trout angler’s summertime arsenal. Requiring only six materials (hook and thread included), this pattern requires only half a dozen steps and is perfect for beginners looking to learn a new pattern.
| Materials: | ||
|---|---|---|
 3x Long Nymph (Size 12-16) 3x Long Nymph (Size 12-16) |  70-denier (Chartreuse) 70-denier (Chartreuse) |  Tungsten (Gold; Sized to Match) Tungsten (Gold; Sized to Match) |
 Ultra Chenille (Chartreuse) Ultra Chenille (Chartreuse) |  Ultra Chenille (Chartreuse) Ultra Chenille (Chartreuse) |  Lead-free Wrap Lead-free Wrap |
Disclosure: This post contains affiliate links. A small commission may be paid for purchases made through these links.
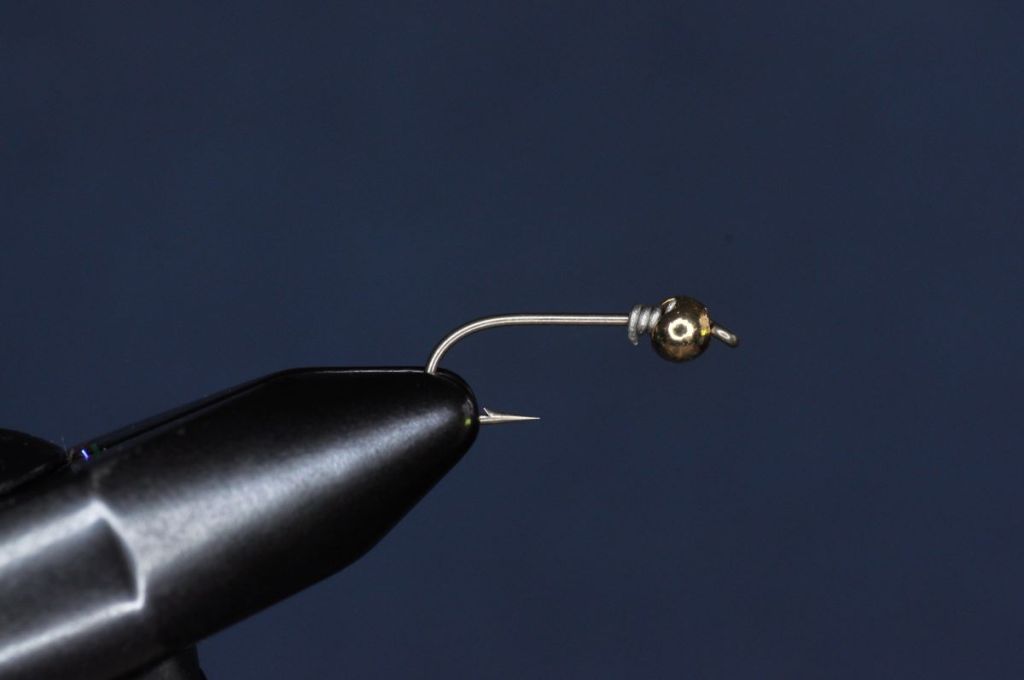
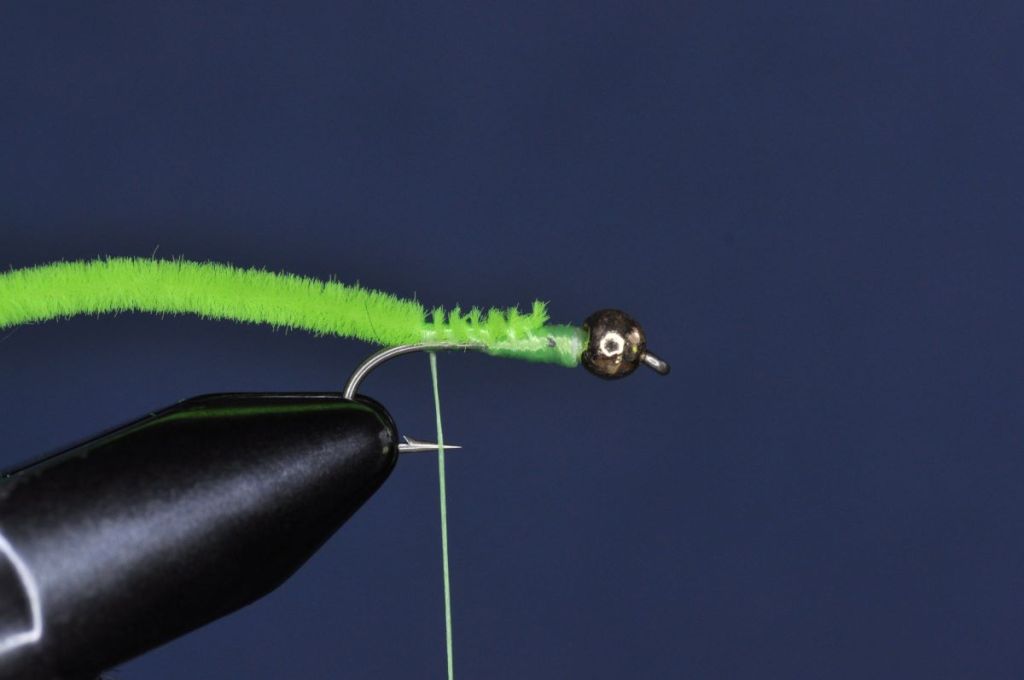
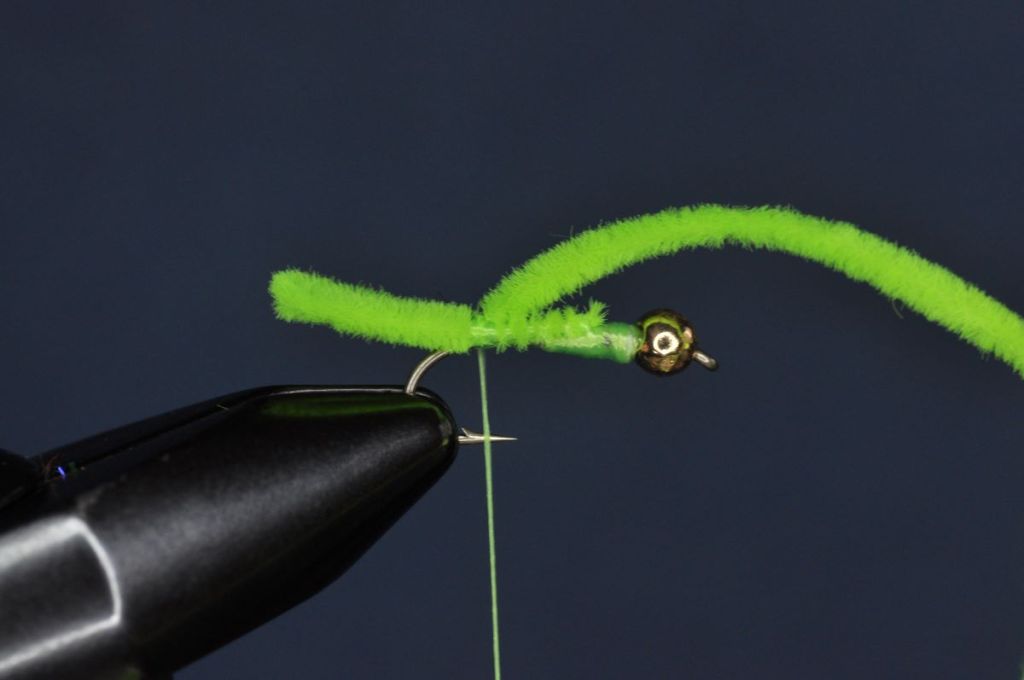
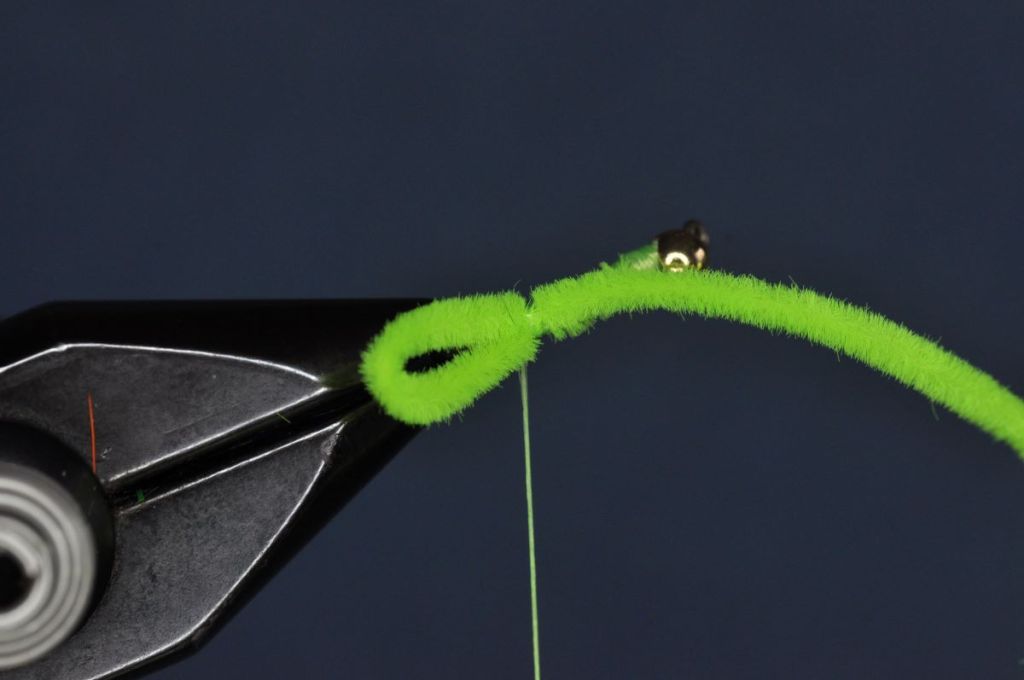
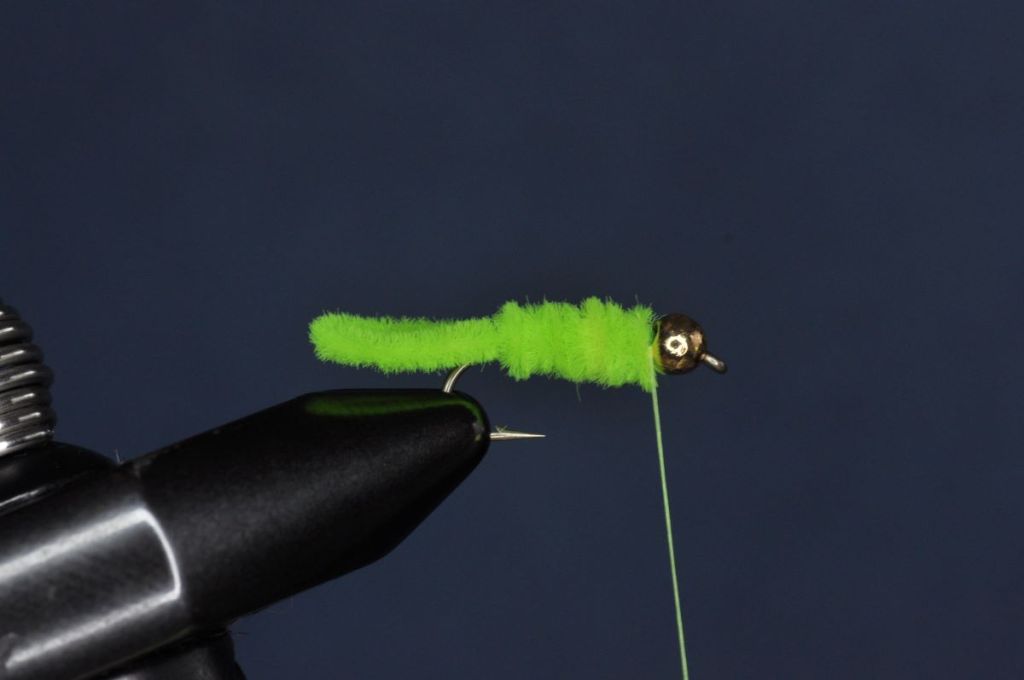
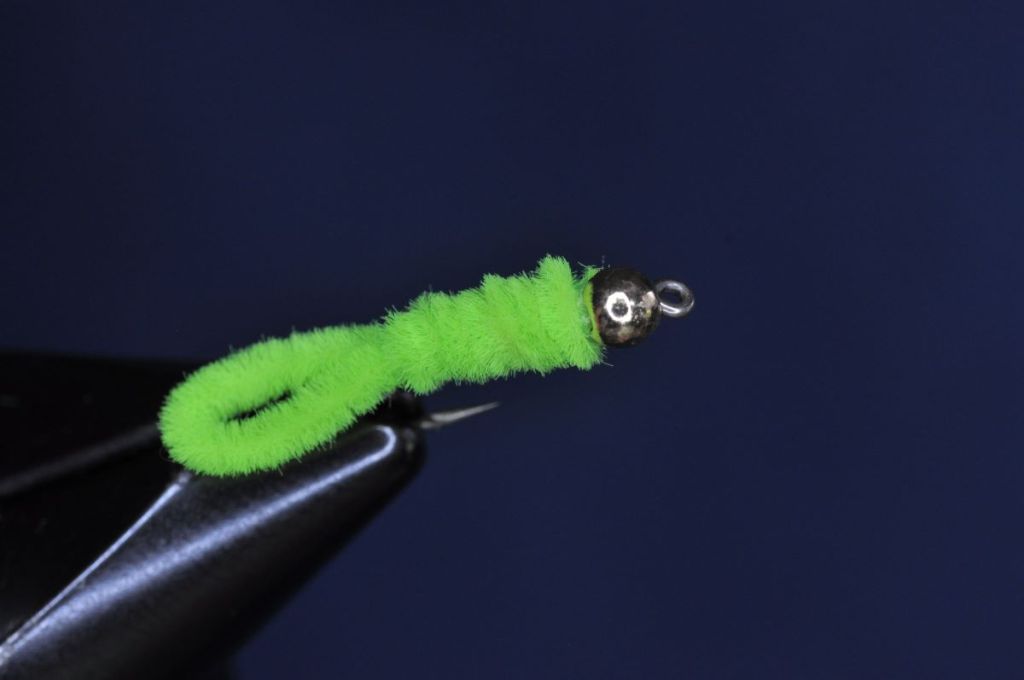
Green Weenie Fly Step-by-Step Tying Instructions:
(Mobile Viewers: Click images to enlarge)

Tips and Tricks
- More than a little green worm – Though the bright green color of this pattern is said to mimic either a drowned inch worm, many other colors have proven effective as well. While fluorescent pink is the best known alternative “Weenie” color, Left Kreh suggests deep red or purple have proven most effective in his experience.
- Weight or No-Weight – Though I’ve always preferred the heavily weighted (beaded) version of this fly, don’t forget to tie a few unweighted patterns as well. While a beaded version may be preferred in the fast flowing brook trout streams of the Smoky Mountains, a fly with a slower sink-rate (or even one that may get stuck in the surface film may be the winner on slower, smoother waters.
Proof of Concept
While I’ve fished this fly on more than one occasion, and hooked more than a few trout on it, I admittedly cannot find definitive proof of concept within my photo archives. So…for the time being this fly shall remain unproven. At least until my next visit to the Smokys.
Update (07/2026): While the Green Weenie has yet to help bring a trout to my hand, it has proven itself more than worthy when targeting our local warmwater residents.
Tight Lines!
-Chris

Species Caught on the Green Weenie Fly to Date:
- Bluegill
- Redspotted Sunfish
- Green Sunfish
- Largemouth Bass