Looking for something else?
Try one of these!
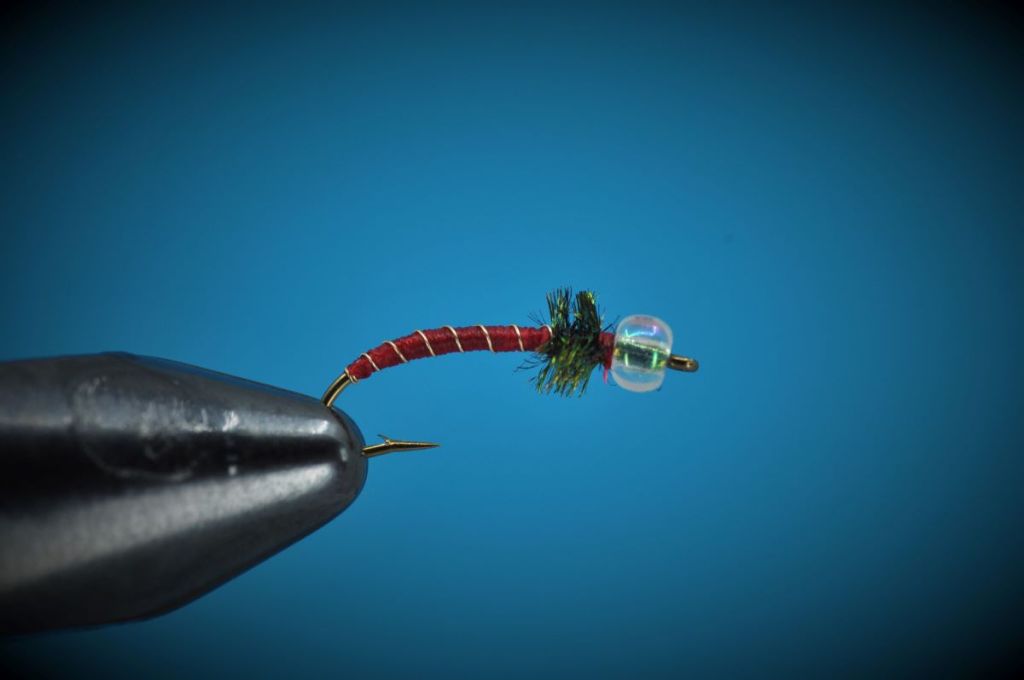
Mercury Blood Midge Step-by-Step:
Back in February of 2021, I posted my first midge pattern to this blog. An admittedly poorly tied Zebra Midge, that post provided an introduction to the Chironomidae, the non-biting midges, and is worth a revisit if you have the time. Still, with roughly 20,000 species of midge worldwide (and hundreds of fly patterns mimicking their larvae), it is safe to say I’m long overdue to post another.
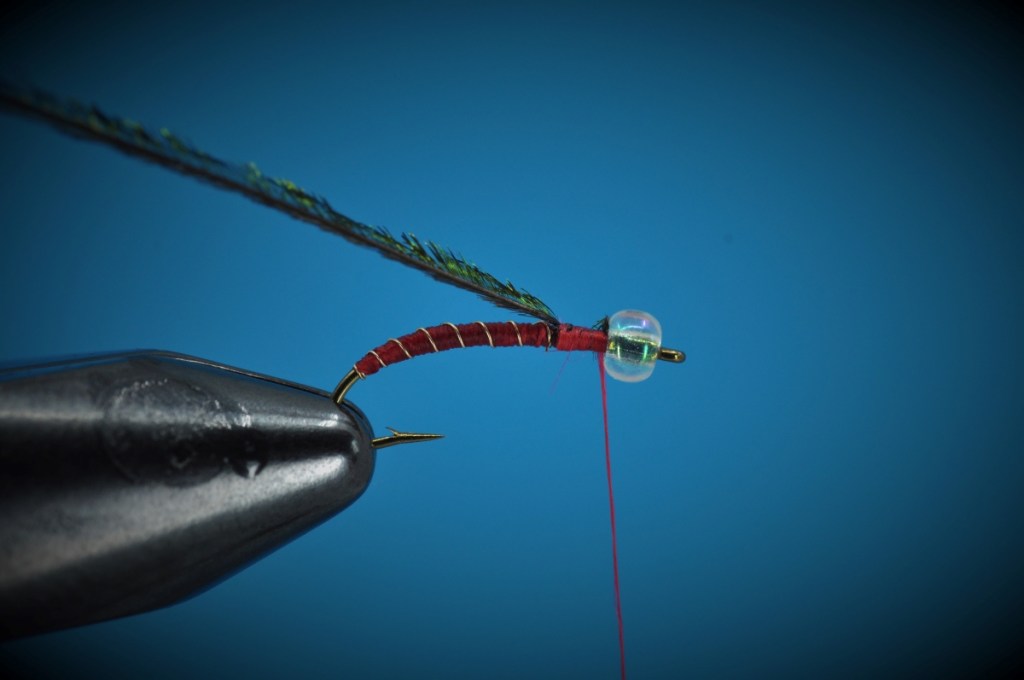
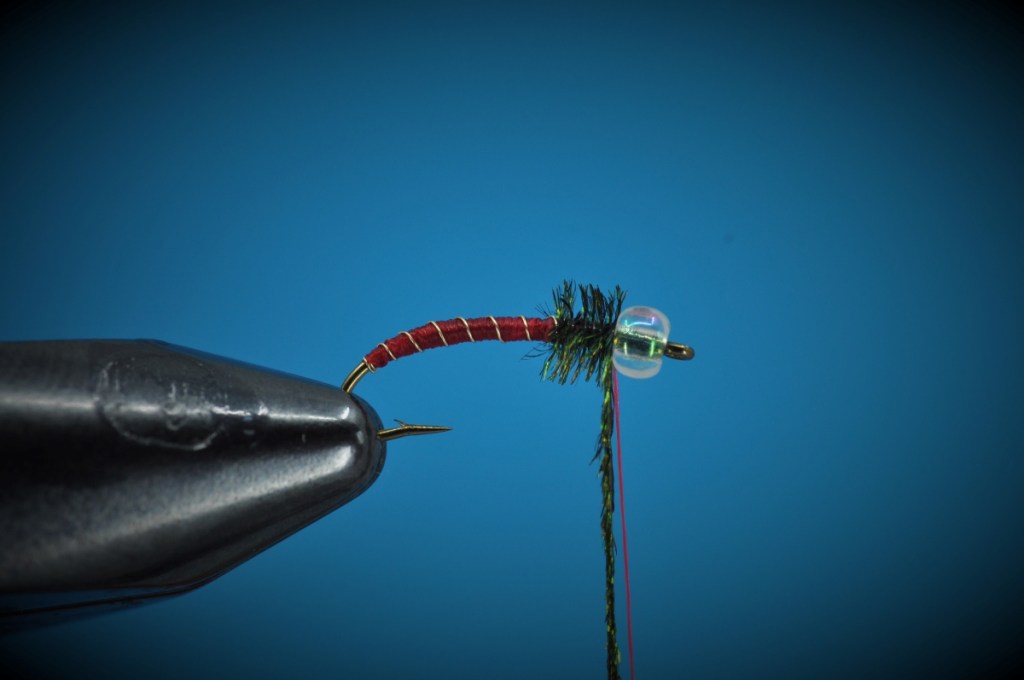
With that in mind, and trip to a popular Colorado tailwater slated for this past weekend, I decided it was time to try my hand at the Mercury Blood Midge. The creation of Pat Dorsey, the Mercury Midges are a series of midge patterns defined by the use of a silver-lined glass bead in place of a brass or tungsten bead head. Thought to imitate trapped gases escaping the thorax of the emerging midge, these glass-beaded imitations have proven capable of fooling even the most finicky of trout. Tied here in red, hence “blood” midge, numerous variations of mercury midge can be found with a cursory google search.
| Materials: | ||
|---|---|---|
 Curved Nymph (#18-22) Curved Nymph (#18-22) |  Veevus 12/0 or 70 Denier (Red/Black) Veevus 12/0 or 70 Denier (Red/Black) |  Glass Bead (sized to match) Glass Bead (sized to match) |
 Veevus 12/0 or 70 Denier (Red) Veevus 12/0 or 70 Denier (Red) |  Peacock Herl Peacock Herl |  Ultra Wire (XS; Gold) Ultra Wire (XS; Gold) |
Disclosure: This post contains affiliate links. A small commission may be paid for purchases made through these links.
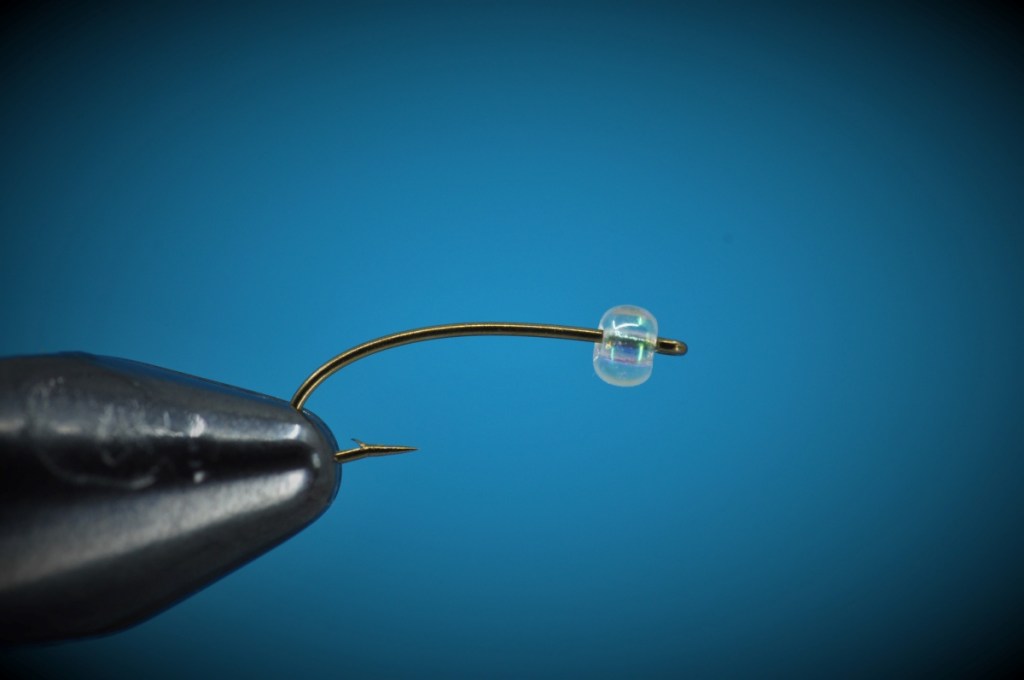
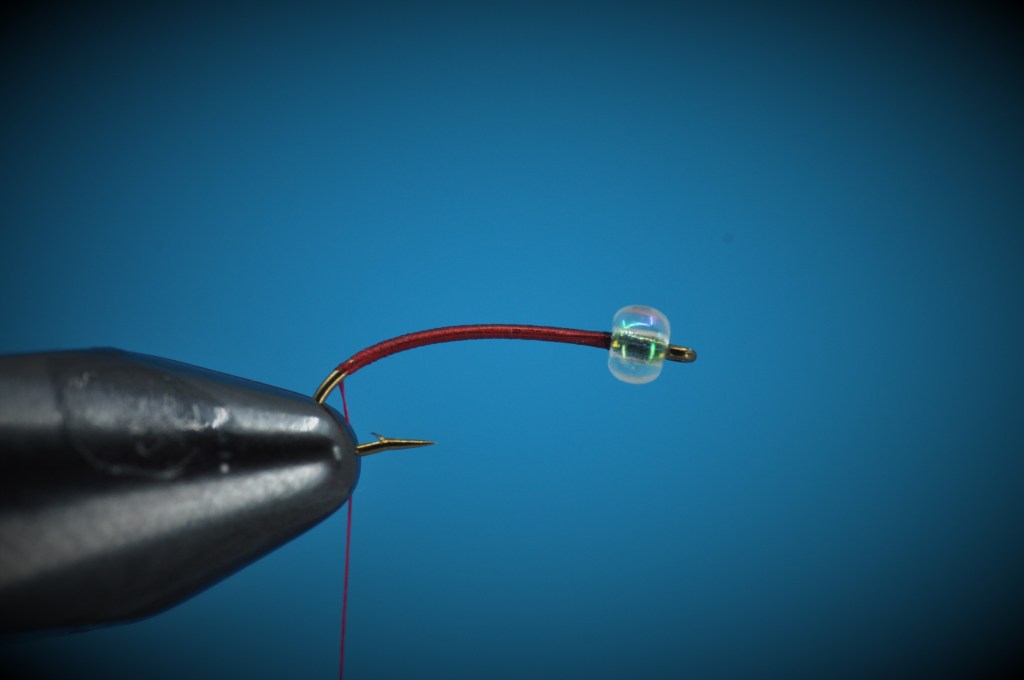
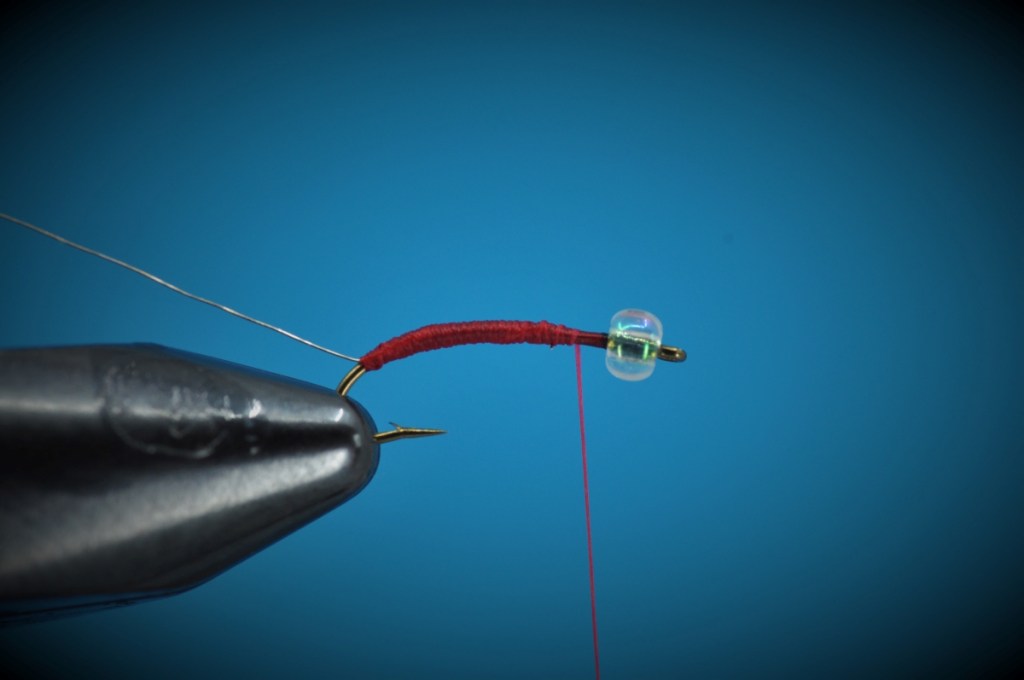
Mercury Blood Midge Step-by-Step Tying Instructions:
(Mobile Viewers: Click images to enlarge or rotate phone to landscape)


Tips and Tricks
- Thread Selection – As originally addressed in my 2021 Zebra Midge post, thread selection is paramount when tying smaller flies. A 70-denier thread that lays down flat should suffice, but consider a finer 12/0 for those midges tied in size 20-24. You’ll be much happier with the outcome.
- Double Nymph rigs – Whether euro nymphing, tightline nymphing or using a dry-dropper set up, getting small midge patterns to the desired depth quickly can be a challenge. As a solution, consider fishing a double nymph rig with a larger/heavier point fly, and your midge as a dropper. This will ensure your nymph gets to the desired depth quickly, and, as an added bonus, that point fly may occasionally draw a strike of its own.
Proof of Concept
Unfortunately, it was the aforementioned Zebra Midge, and not the Mercury Blood Midge, that trout seemed to prefer on my recent trip. And, as a result, proof of concept will remain empty for the time being. Still, there’s no need to take my word for it on this pattern as countless images of trout landed on this pattern can be found all over the web.
Tight Line!
Chris
Species Caught on the Mercury Blood Midge to Date:
Enjoy our Content?
Subscribe below to be notified anytime a new Step-by-Step is added.
Support our Content
Enjoy our content & want to help support our work? Consider clicking one of the Ads below the article if something catches your attention. Each click brings in a small bit of revenue to help offset the cost of maintaining & hosting this great site!
One thought on “Mercury Blood Midge Step-by-Step”