Looking for something else?
Try one of these!
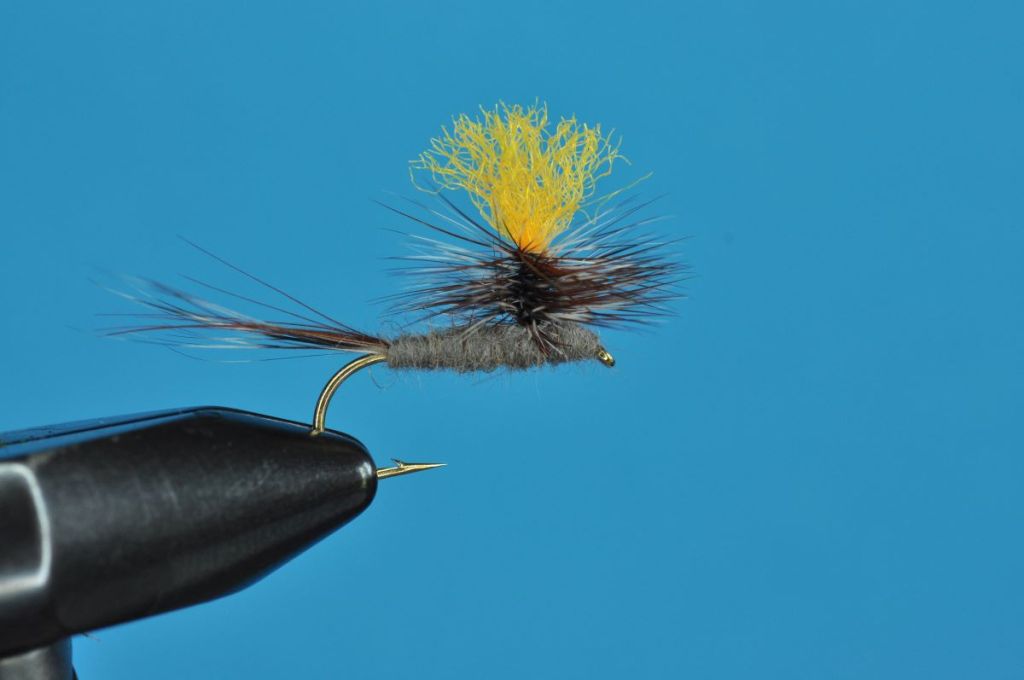
Parachute Adams Fly Step-by-Step:
“If I were to fish with only one dry fly for the rest of my life, I would immediately select the Adams Parachute…”
– Lefty Kreh (The Professionals’ Favorite Flies, Volume 1)
There’s little to be said about the Adams dry fly that hasn’t already been covered elsewhere. The 1922 classic dry from Michigan ranks up there with Al Troth’s Elk Hair Caddis. And is perhaps even more adaptable in its ability to mimic a wide variety of aquatic insects.
Now a century into its existence, the Adams has spawned numerous variants including the parachute variety presented in this week’s Step-by-Step. Favored by professionals and amateurs alike, the pattern is perhaps even more adaptable than the original. Imitating everything from an emerging dun to a dying spinner, the Adams has proven an effective search pattern anywhere trout are rising. Couple this with the delicacy of presentation provided by the aptly named parachute, and its no wonder the likes of Lefty Kreh would quickly pronounce this pattern his “one dry fly.”
| Materials: | ||
|---|---|---|
 Tiemco TMC 100 (Size 10-18) Tiemco TMC 100 (Size 10-18) |  Veevus 12/0 (Gray) Veevus 12/0 (Gray) |  Dry fly Dubbing (Adams Gray) or Muskrat Dry fly Dubbing (Adams Gray) or Muskrat |
 Para Post or Calf Tail (White or Orange) Para Post or Calf Tail (White or Orange) |  Dry Fly Hackle (Grizzly & Brown; Slightly oversized) Dry Fly Hackle (Grizzly & Brown; Slightly oversized) |
Disclosure: This post contains affiliate links. A small commission may be paid for purchases made through these links.
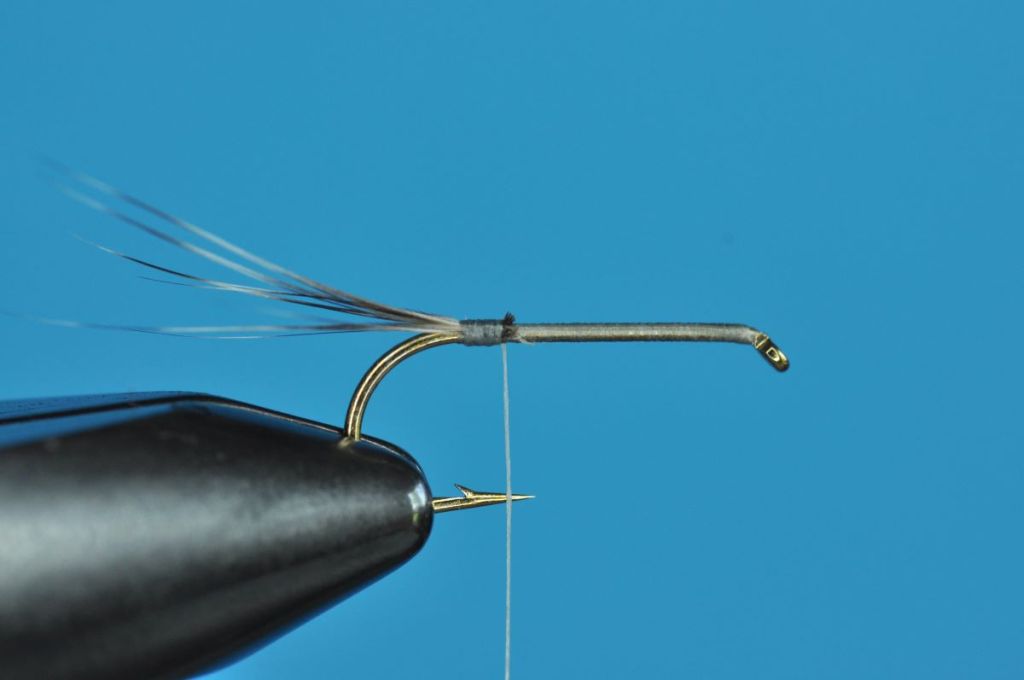
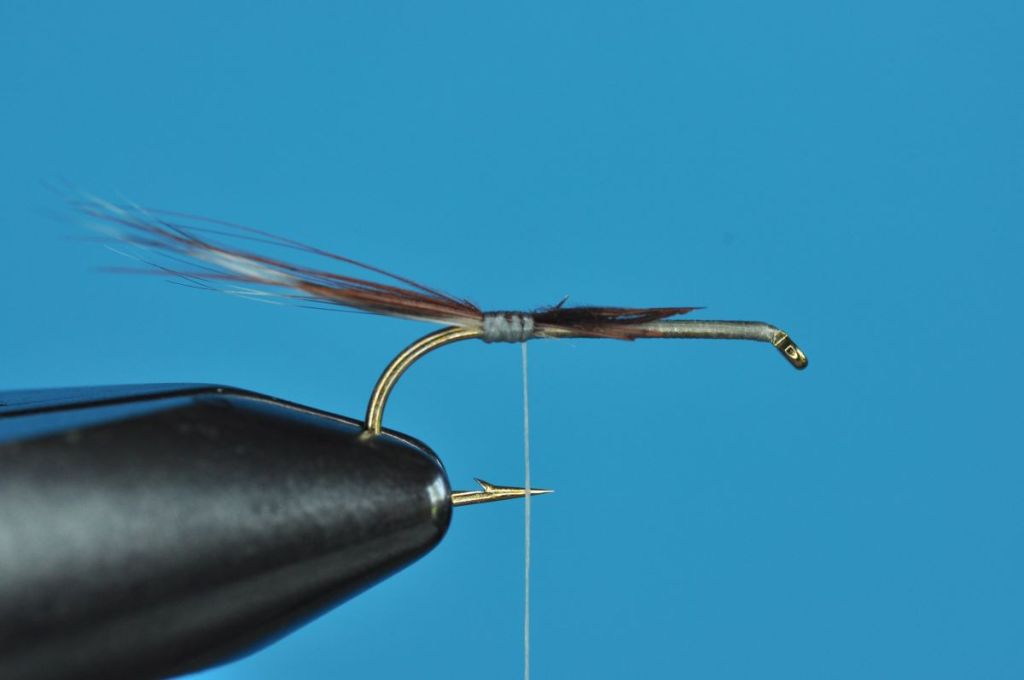
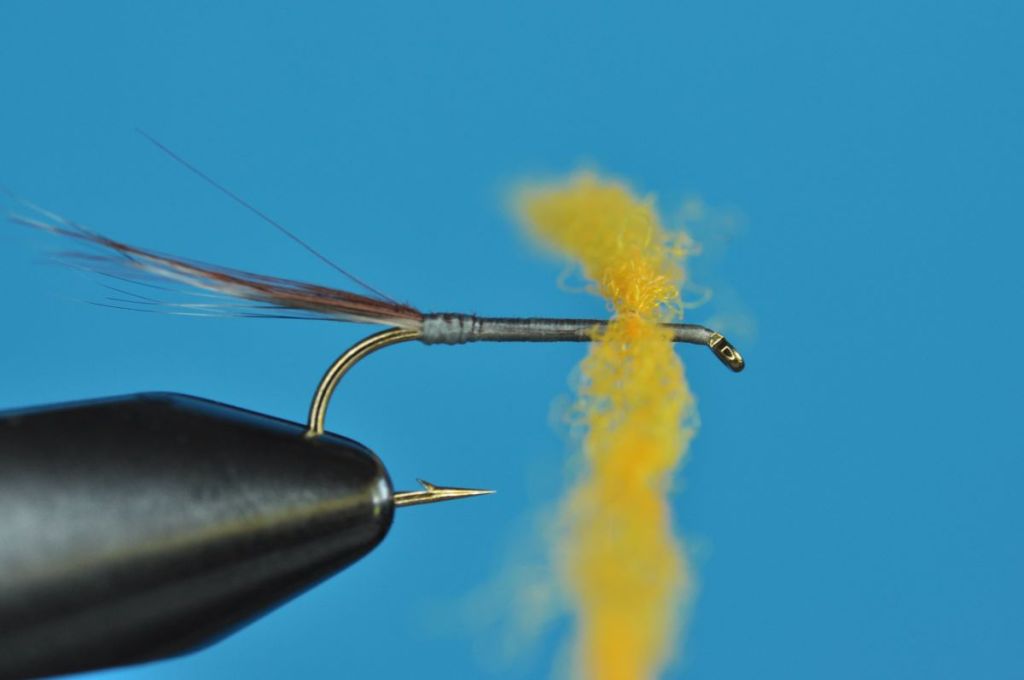
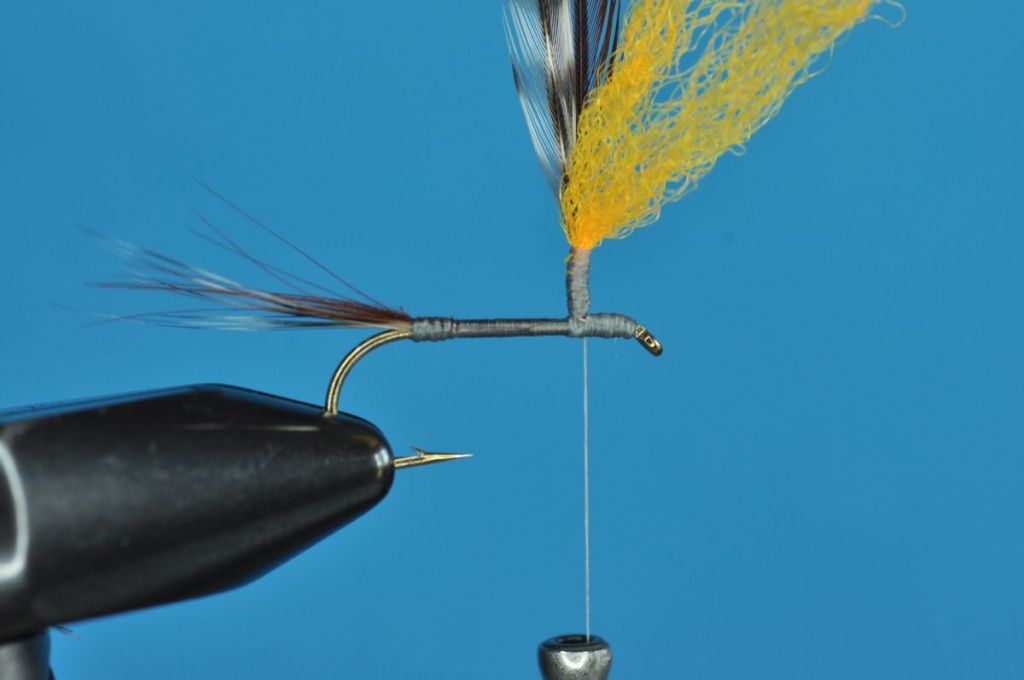
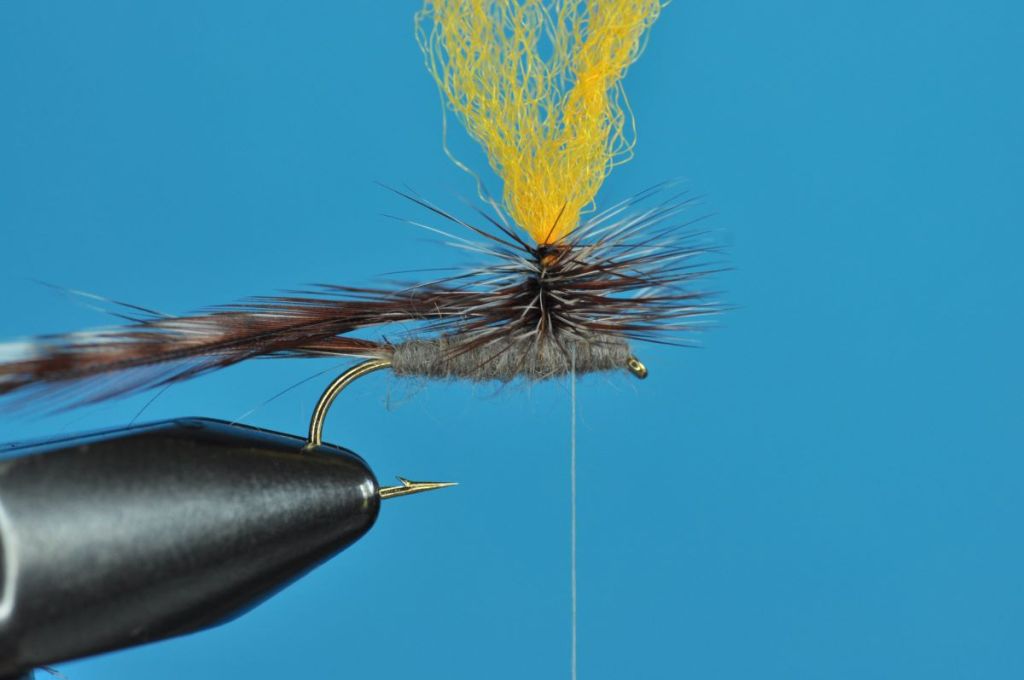
Parachute Adams Fly Step-by-Step Tying Instructions:
(Mobile Viewers: Click images to enlarge)


Tips and Tricks
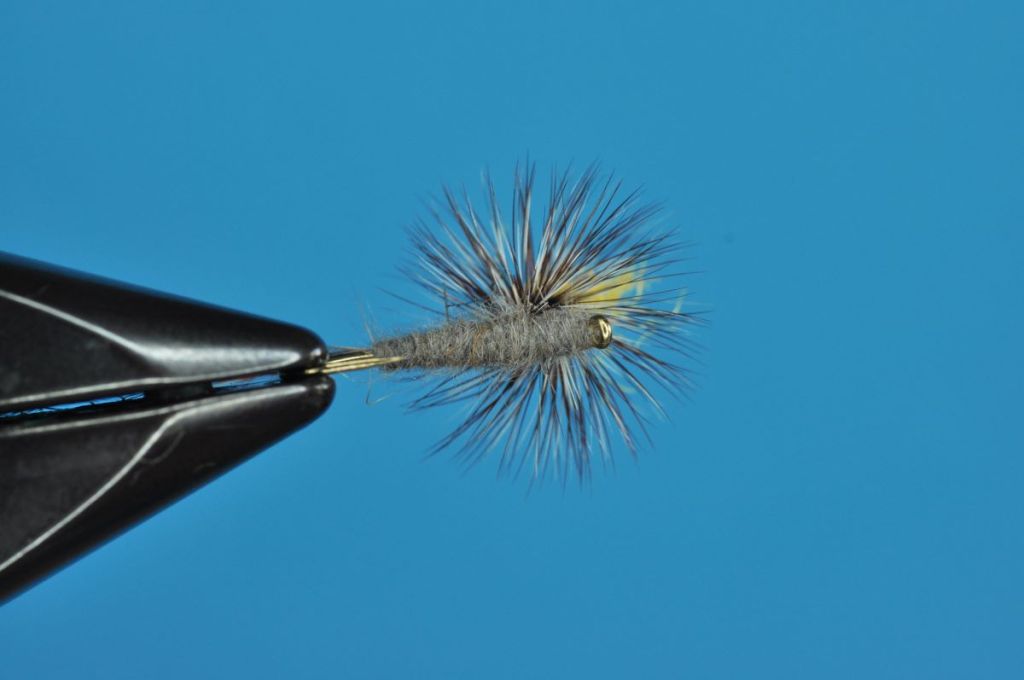
- Hackle Sizing – When dealing with parachute patterns be sure to upsize your hackle slightly (i.e. select hackle that measures one hook size up when using a hackle gauge). The slightly broader hackle will help ensure your fly floats upright in the water. Conversely, too narrow of a hackle may cause the fly to tip in the water due to the top heavy post.
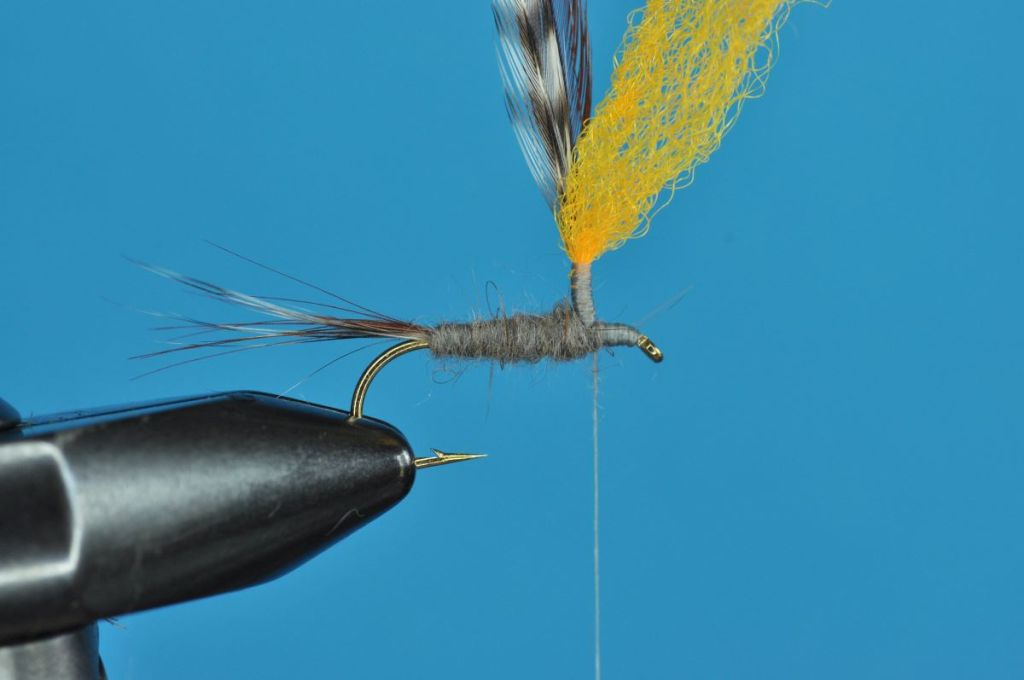
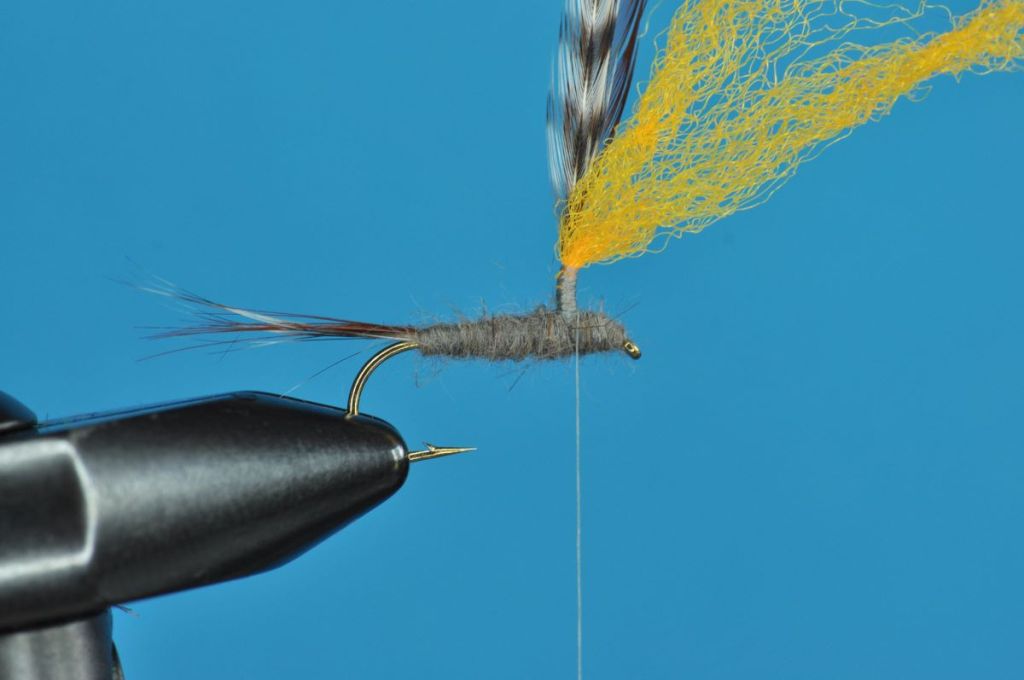
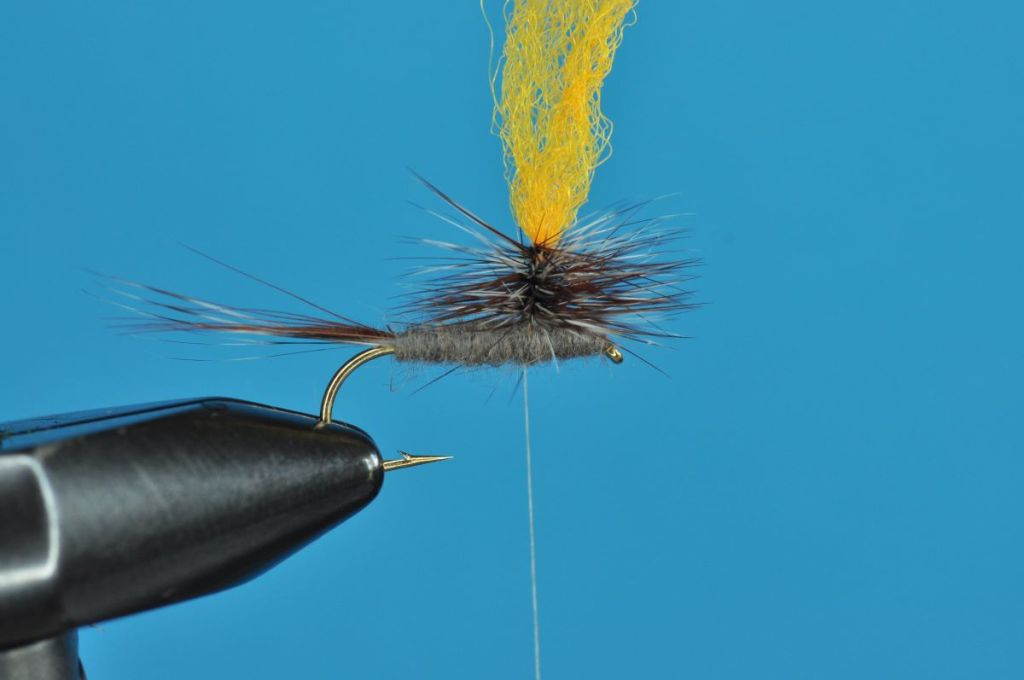
- Dubbing Selection – Dubbing selection is largely up to the tyer for this pattern. While I used muskrat in this instance, a variety of “Adam’s Gray” dubbing varieties exist on the market. In the case of Len Halladay’s original 1922 Adams, he didn’t use dubbing at all. And instead utilized gray yarn for the body.
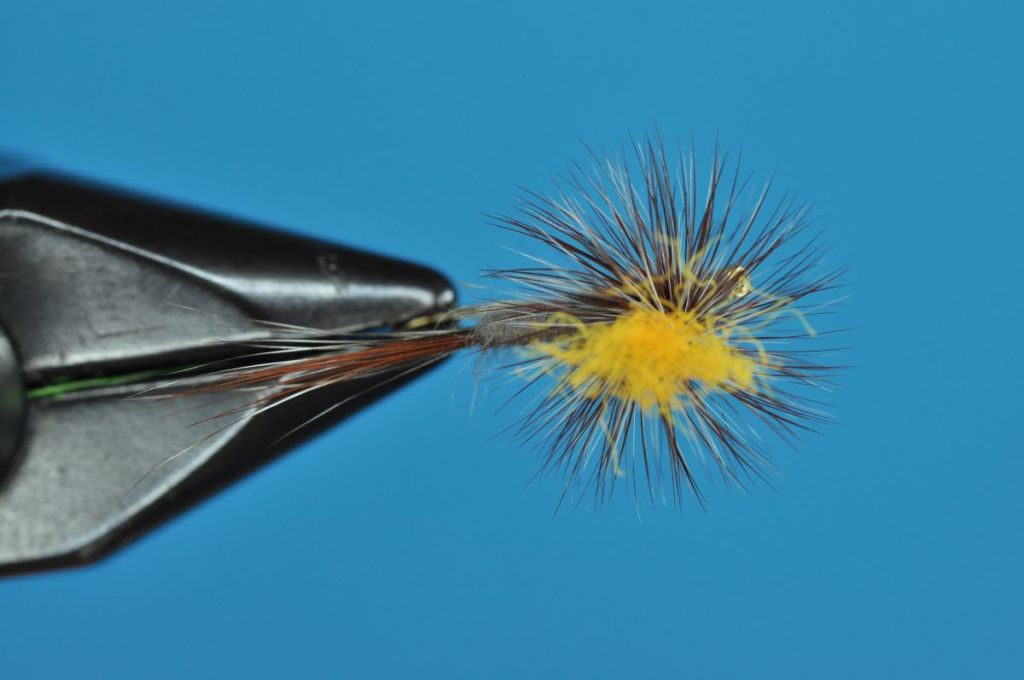
- Post as Hot Spot – Beyond the fish catching benefits addressed in the intro, another major advantage of the Parachute Adams is its visibility on the water. Whether you stick to a white post or go fluoroscent as I did above, that vertical post material makes this an easy pattern to track whether you’re fishing fast water or still.
- Post Reinforcement – This tip is something I’ve stumbled across on the internet numerous times in recent months. Wrapping parachute hackle is often extremely difficult if you haven’t done it before. It simply isn’t easy manipulating both the hackle pliers and flexible post material at once. Pull too hard or slip while swapping hands mid-wrap, and all your hard work can quickly come undone. If you’re finding this to be the case, consider coating the base of your post in a thin layer of UV resin before wrapping the hackle. The added reinforcement should stiffen the post enough to help limit some of those slip ups.
Proof of Concept
Chock this one up to poor record keeping. While I’ve landed numerous trout on this pattern during the past decade, I don’t appear to have any photos that will serve as definitive proof of concept. With any luck, I’ll resolve that in early September.
Until then, you’ll just have to take Lefty’s word for it.
Tight Lines!
-Chris
