

Looking for something else?
Try one of these!
Parachute Hopper Fly Step-by-Step:
Anyone who follows this blog know that I’m a fan of Hopper Patterns. They’re simply fun to fish.
Warmwater or cold. It really doesn’t matter. Just splash them down along a wind blown bank on a warm summer day and explosive strikes will ensue.
While most of the hoppers I’ve shared in the past are of the high floating foam variety, there’s something to be said for those that ride lower in the water. Perhaps a more natural representation than their high floating counterparts, a number of these patterns have stood the test of time for good reason. Today’s focus, the Parachute Hopper, is just such a pattern. Created by Ed Schroeder, this low-riding, highly visible hopper has been fooling trout for more than 40 years.
| Materials: | ||
|---|---|---|
 Dry Fly 2x-long (#8-14) Dry Fly 2x-long (#8-14) |  70 Denier (tan) 70 Denier (tan) |  Calf Tail (White) Calf Tail (White) |
 Antron (Gold/Tan/Yellow) Antron (Gold/Tan/Yellow) |  Mottled Turkey Mottled Turkey |  Pheasant Tail (Knotted) Pheasant Tail (Knotted) |
 Dry Fly Hackle (Grizzly) Dry Fly Hackle (Grizzly) |
Disclosure: This post contains affiliate links. A small commission may be paid for purchases made through these links.
Parachute Hopper Fly Step-by-Step Tying Instructions:
(Mobile Viewers: Click images to enlarge or rotate phone to landscape)
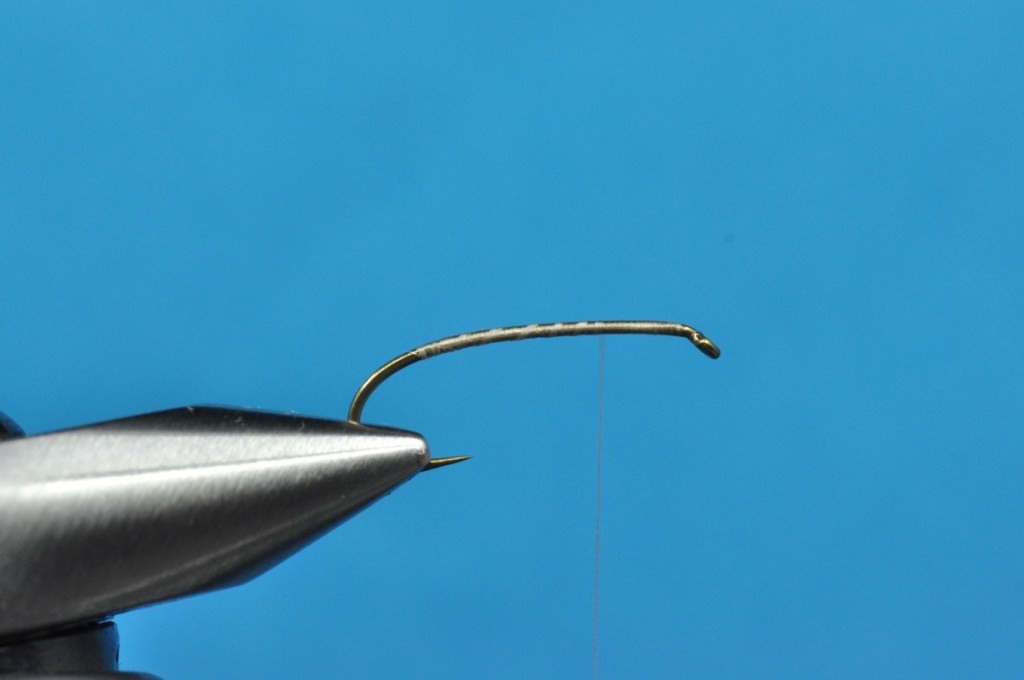
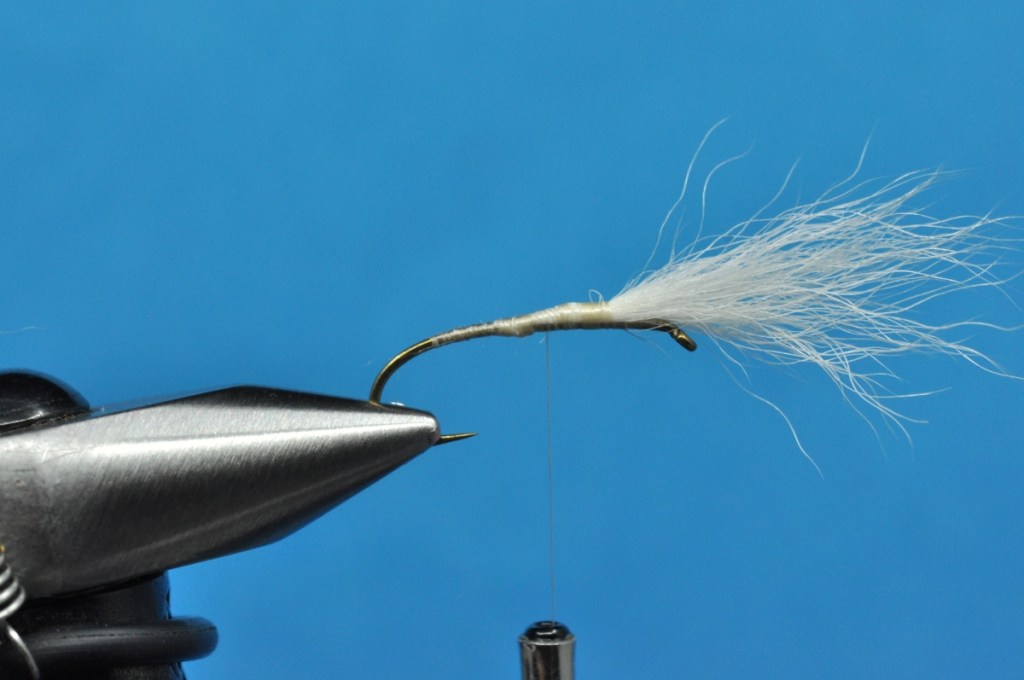
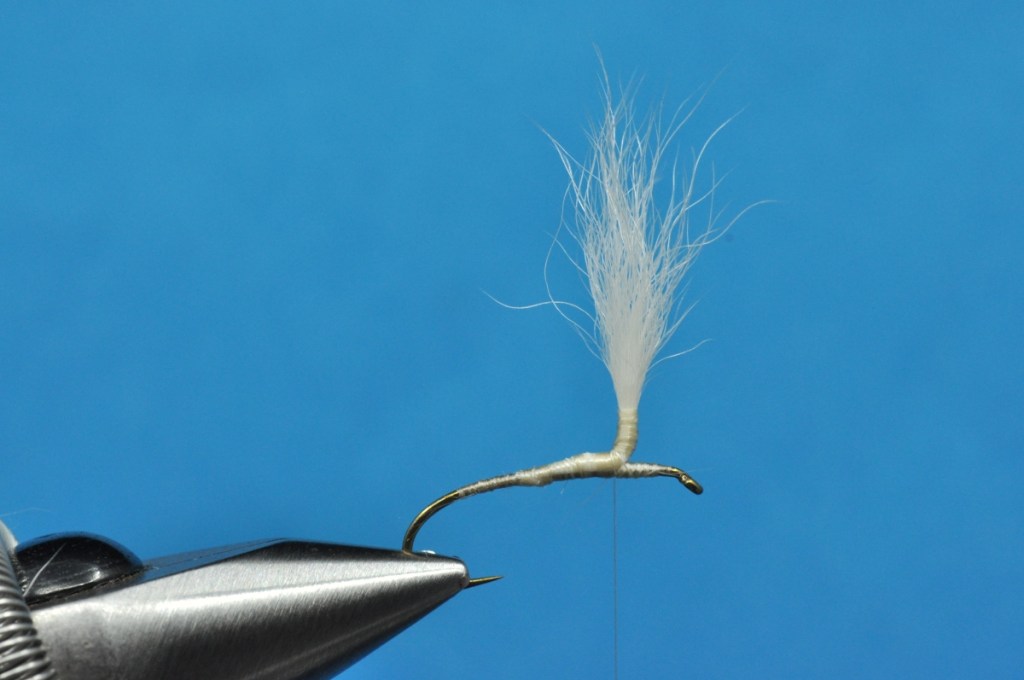
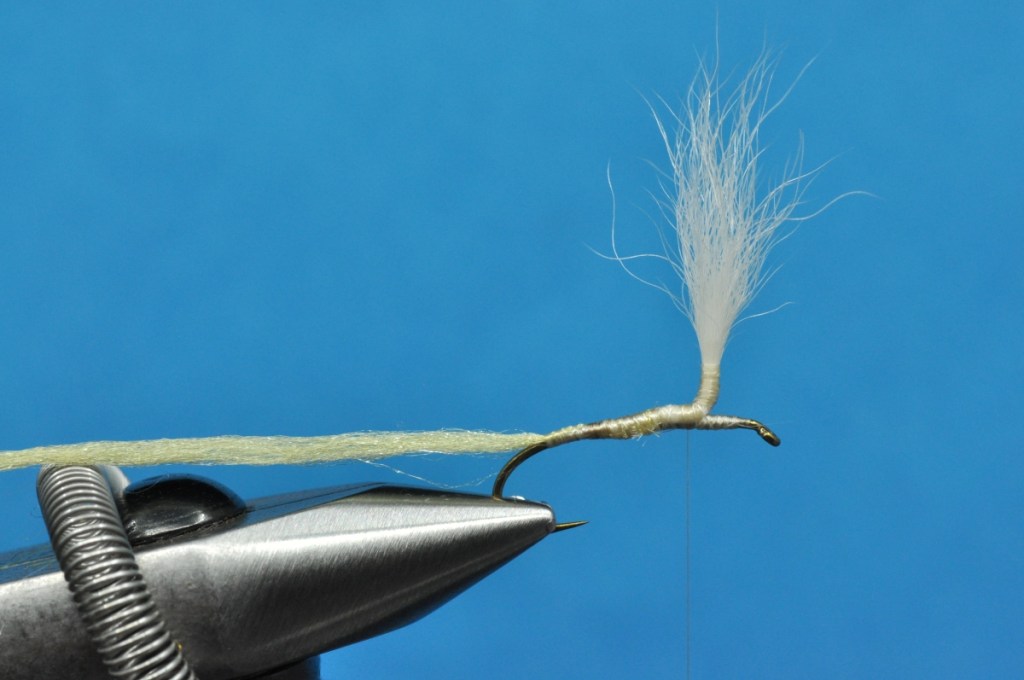
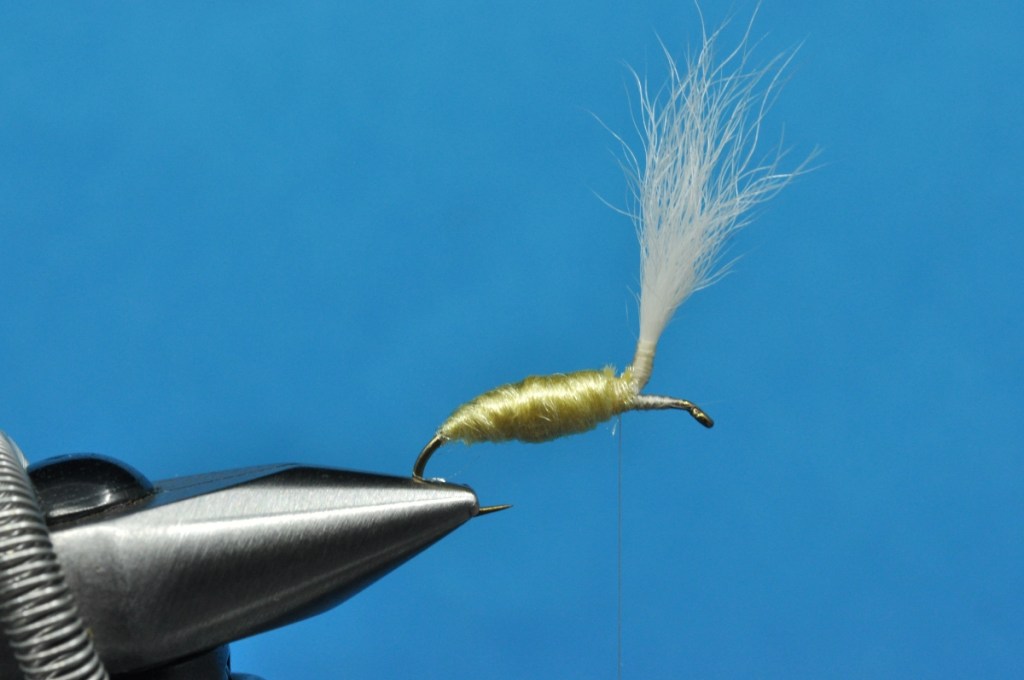
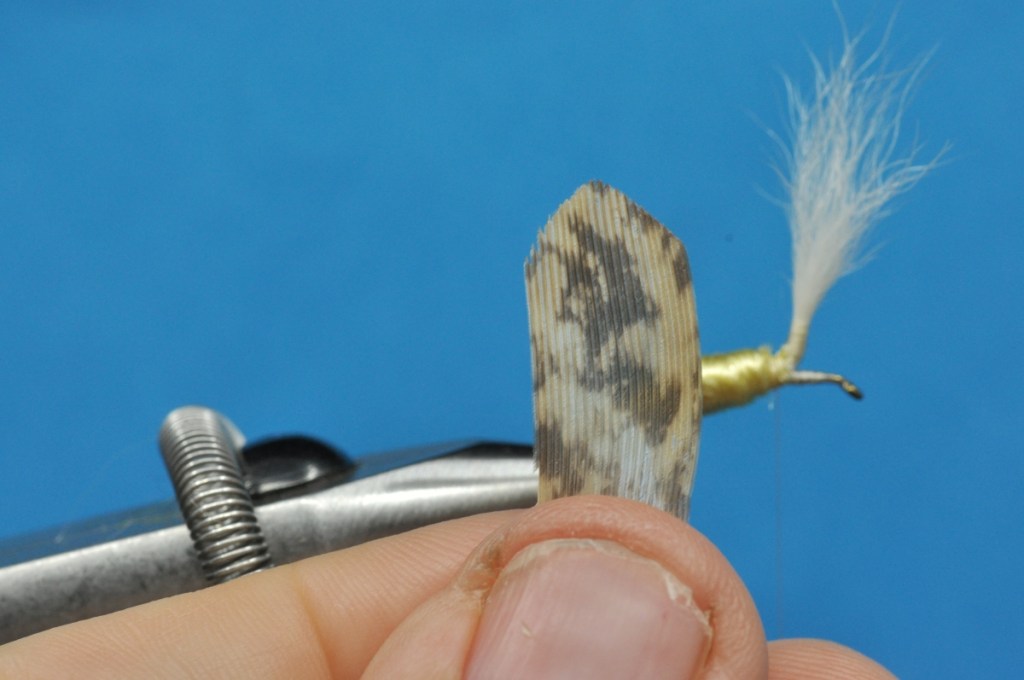
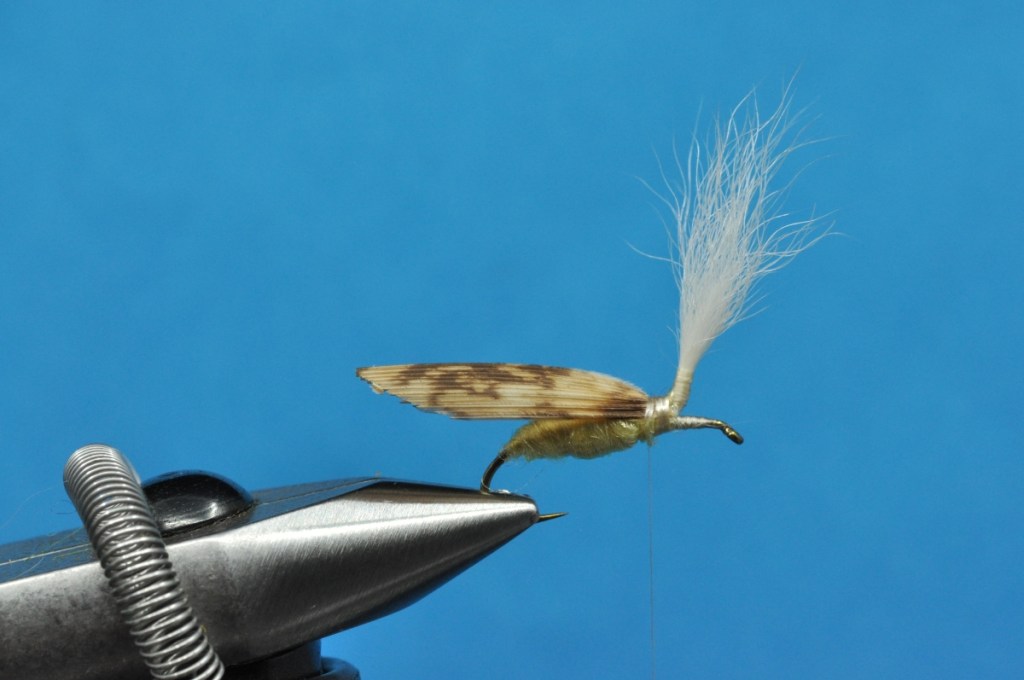
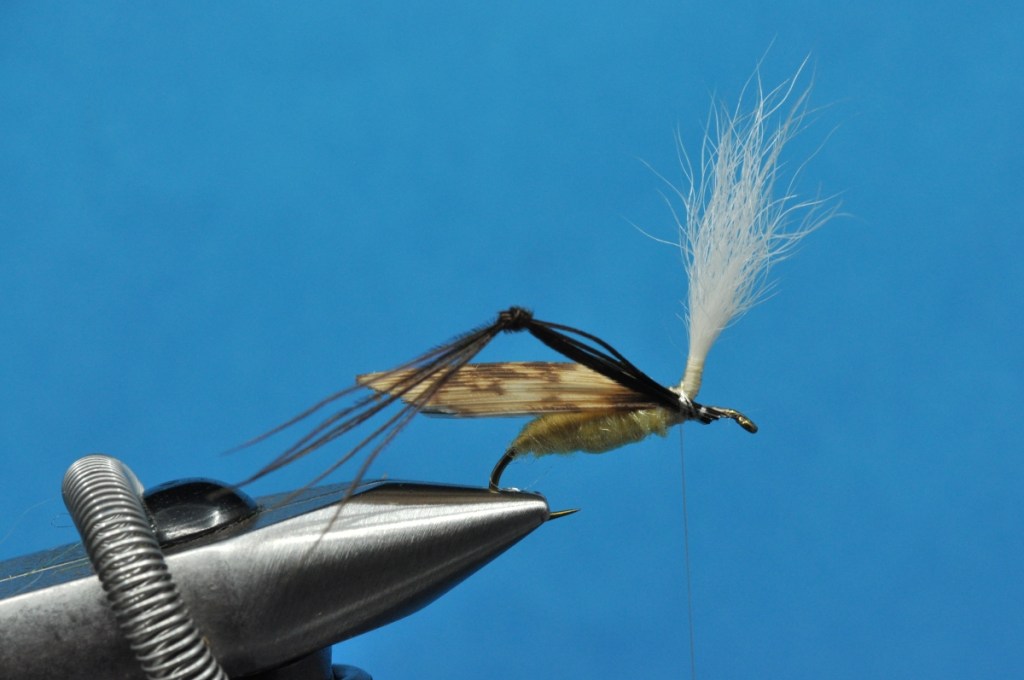
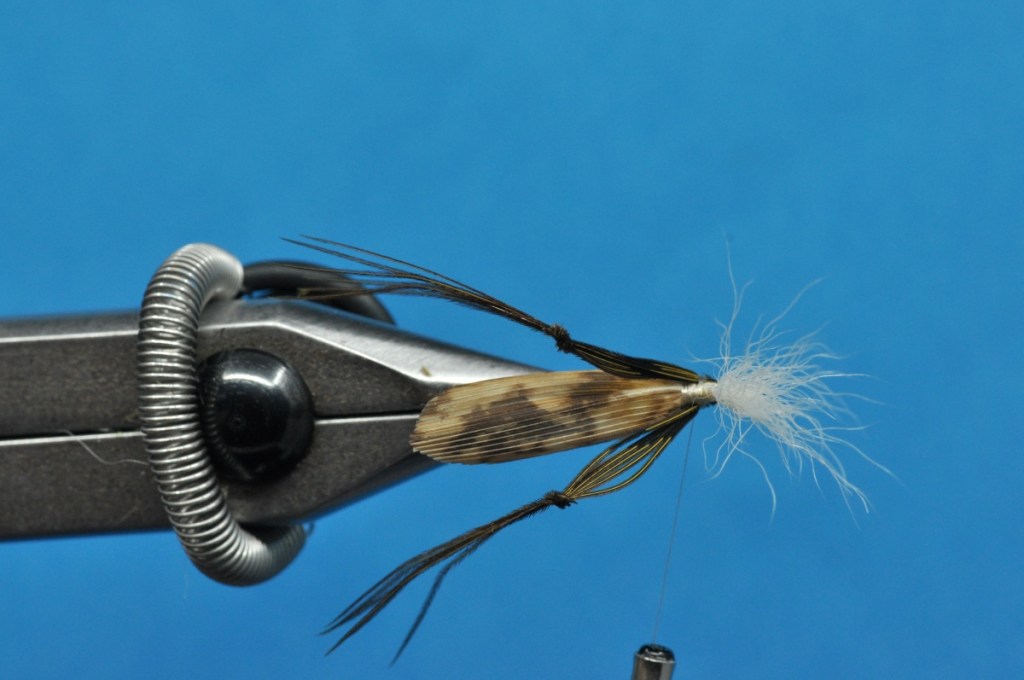
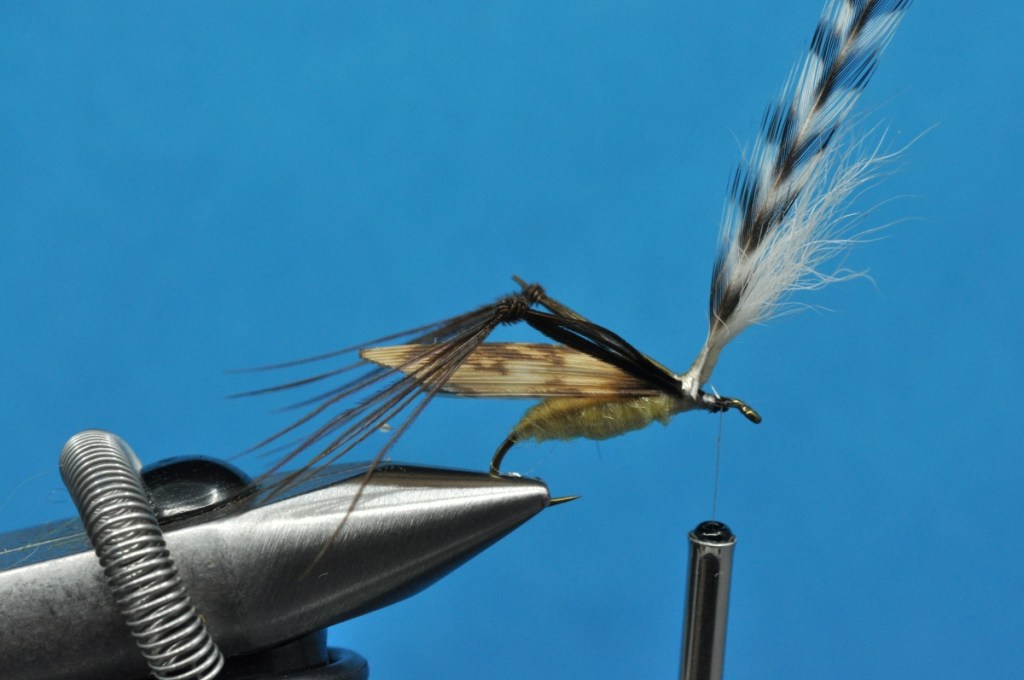
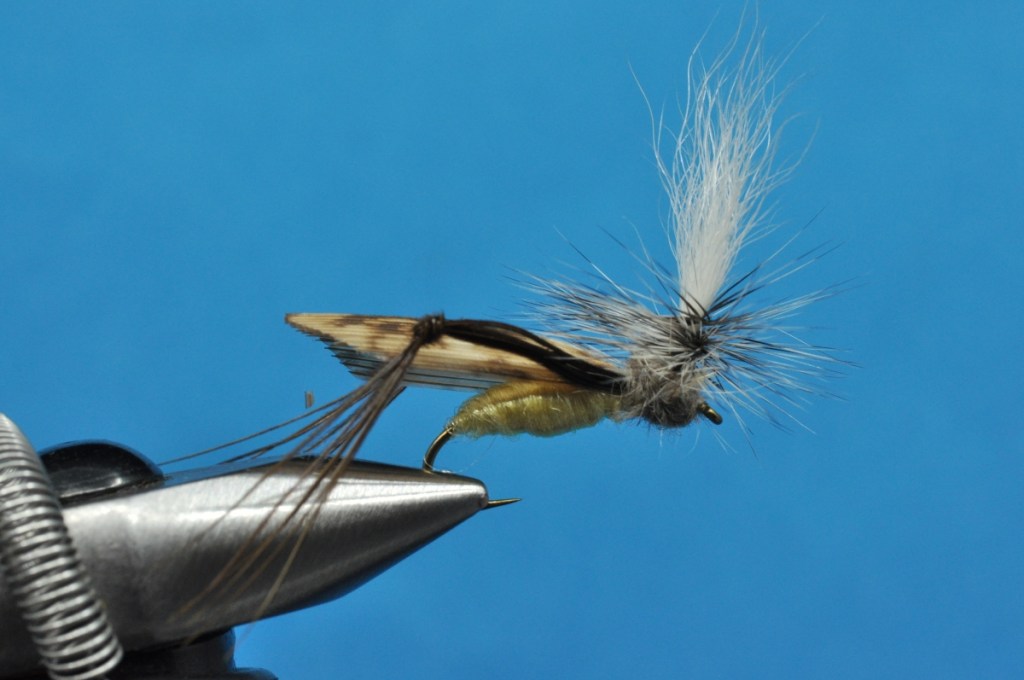
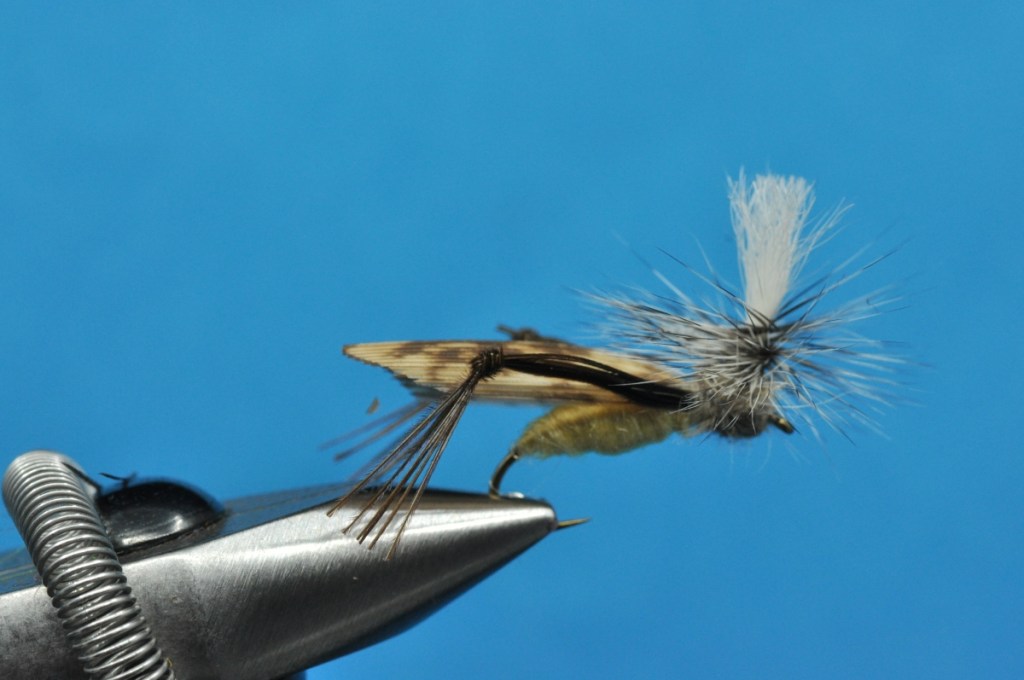
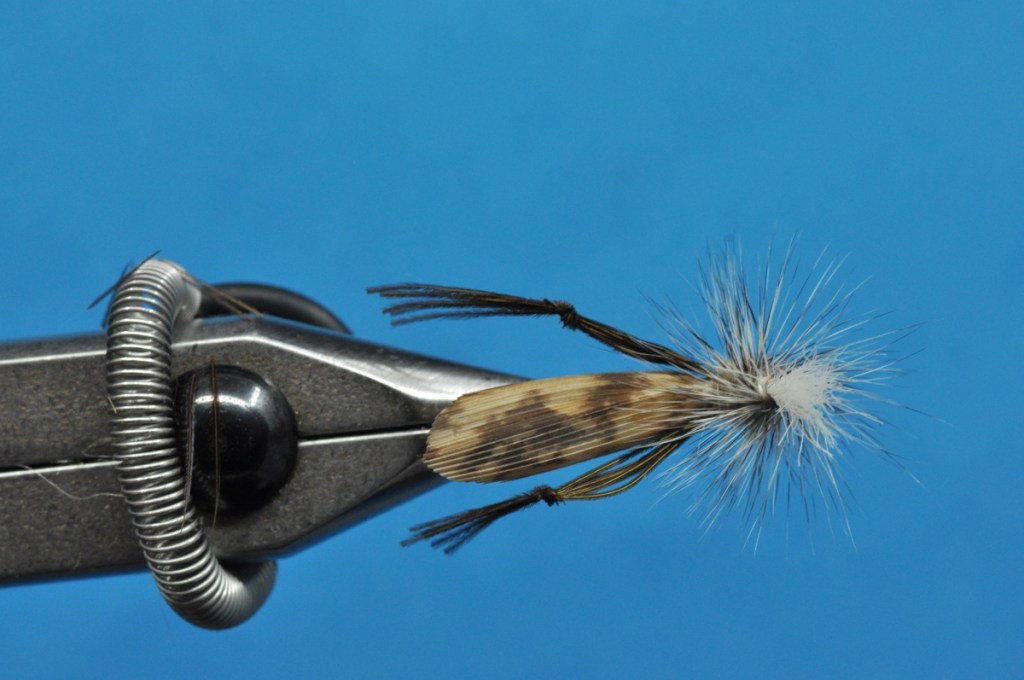
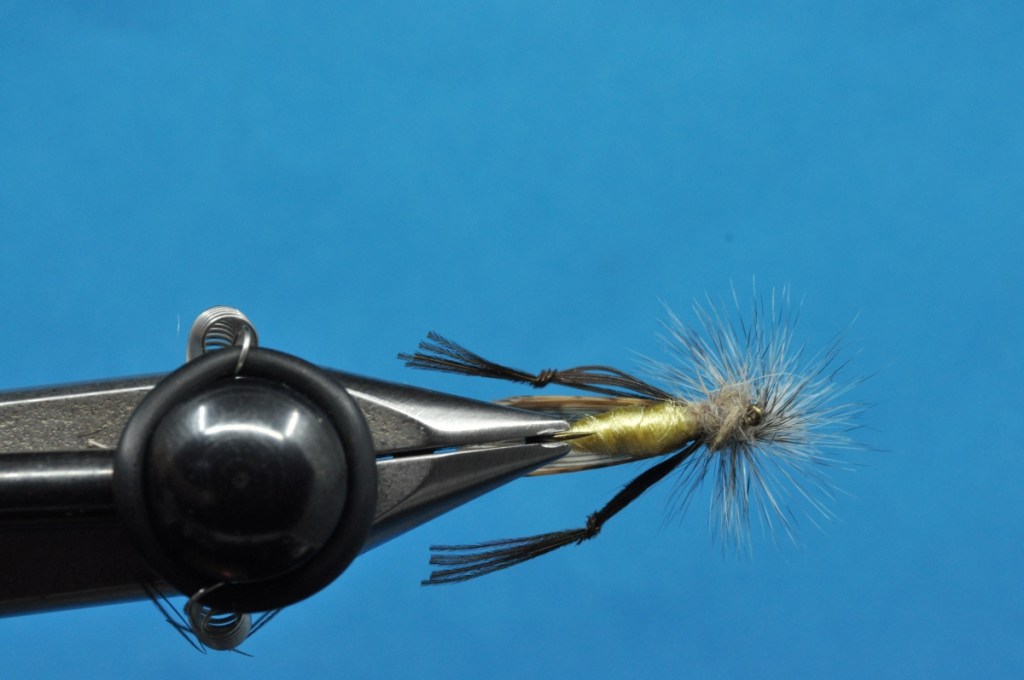
Tips and Tricks
- Pre-treating the Turkey – Creating a proper wing using turkey feathers can be a frustrating task. As often as not, they refuse to lay flat and will splay in all directions should the tyer pull the thread just a hair to tight. To avoid this, many tyers will pre-treat with a clear spray enamel. Simply lay the feather flat on a piece of cardboard and spray. Once dried, cut your wings as shown above.
- Substitutions – In the tutorial above, I utilized Antron Yarn to build the abdomen as that is how I was originally taught to tie the pattern. That said, Schroeder’s original utilized an abdomen & Thorax both made of dubbing with a floss rib segmenting the abdomen. Don’t hesitate to go the dubbing route if that’s what you have readily available. Either option should do the trick.
- Match the Hatch – Part of the fun of hoppers is they come in a variety of colors and sizes. That means anglers may need to Match the Hatch when focusing on wearier trout in highly pressured waters. With that in mind, it’s never a bad idea to tie up a box of parachute hoppers ranging from #14 to #6 in shades of Tan, Yellow, Green, & Brown. As a bonus, you should have the process of tying in turkey flat wings and knotting pheasant tail legs down by the time the box is full.
- Caddis Imitation – Once you’ve filled your box with Parachute Hoppers from #6 to #14, downsize those hooks, trim some smaller wings and toss those pheasant tail legs aside. That’s all you need to do to turn your hopper into a Parachute Caddis. A quick and easy addition to your caddis box, the turkey wing produces a great caddis profile while the parachute post ensures those tiny flies remain highly visible to the angler.
Proof of Concept
As of the time of this writing, I have yet to find a moment to prove out this pattern on my local waters. Be sure to check back though as I have no doubt my local sunfish and bass will prove more than willing to assist with the process. Just a matter of finding a free morning for a bit of wet wading.
Tight Line!
Chris
Species Caught on the Parachute Hopper Fly to Date:
Enjoy our Content?
Subscribe below to be notified anytime a new Step-by-Step is added.
Support our Content
Enjoy our content & want to help support our work? Consider clicking one of the Ads below the article if something catches your attention. Each click brings in a small bit of revenue to help offset the cost of maintaining & hosting this great site!