Looking for something else?
Try one of these!
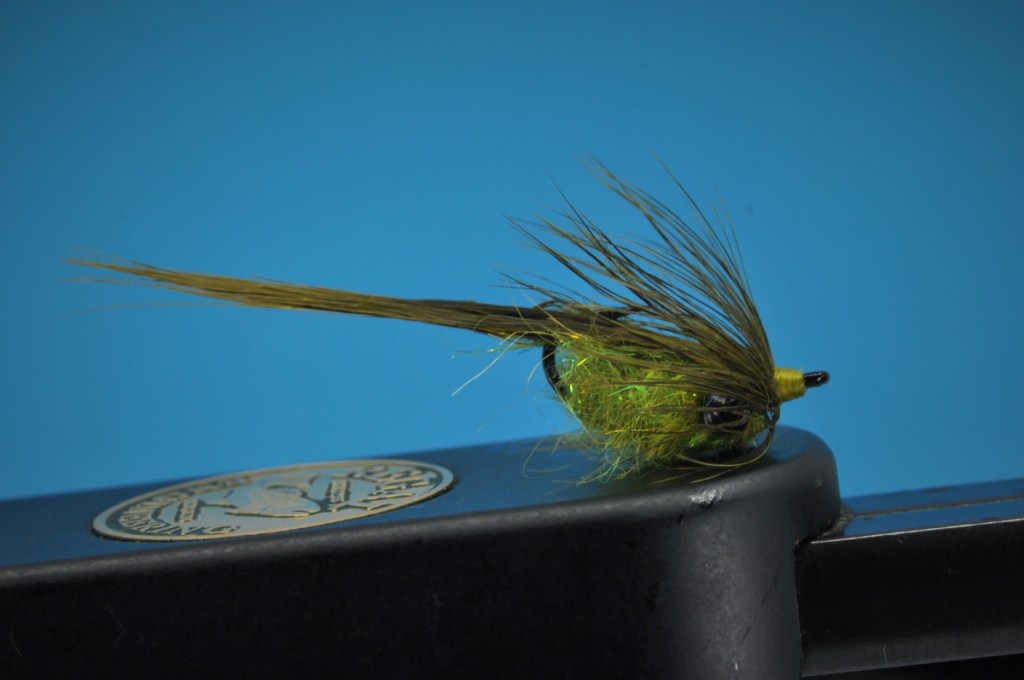
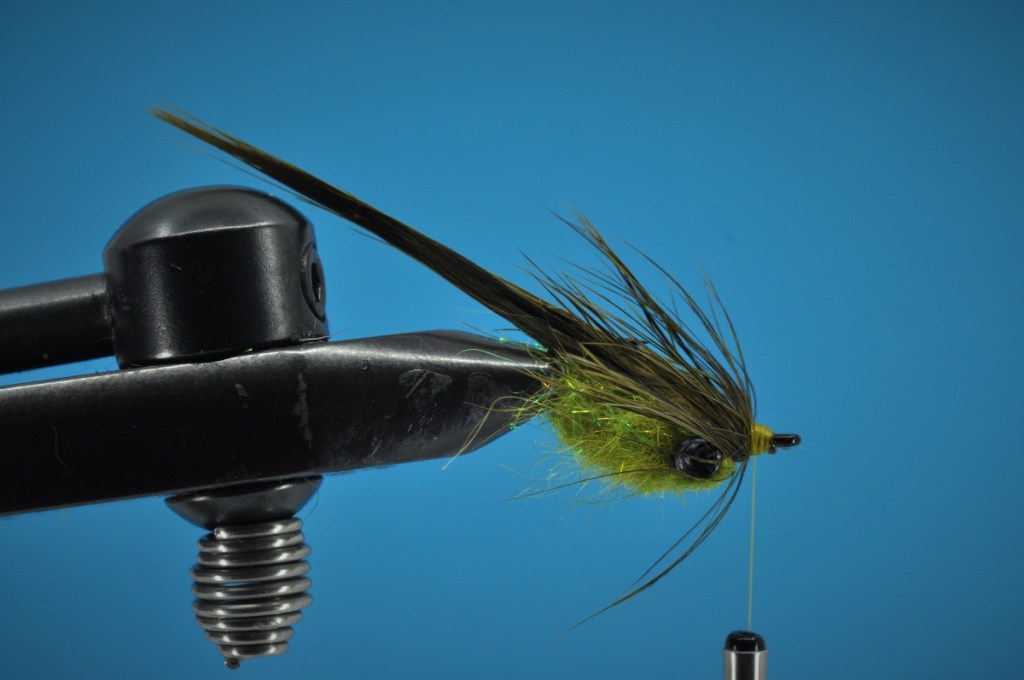
Backstabber Carp Fly Step-by-Step:
I’ve admittedly dropped the ball as of late when it comes to producing Step-by-Steps for this blog. My schedule was fairly packed for the majority of February through May. As a result, I found these tutorials pushed to the backburner as I’ve spent an increasing amount of time highlight my adventures afield. Those adventures are behind me though, and, with no trips slated until at least September, weekly step-by-steps should become the norm in the months ahead.
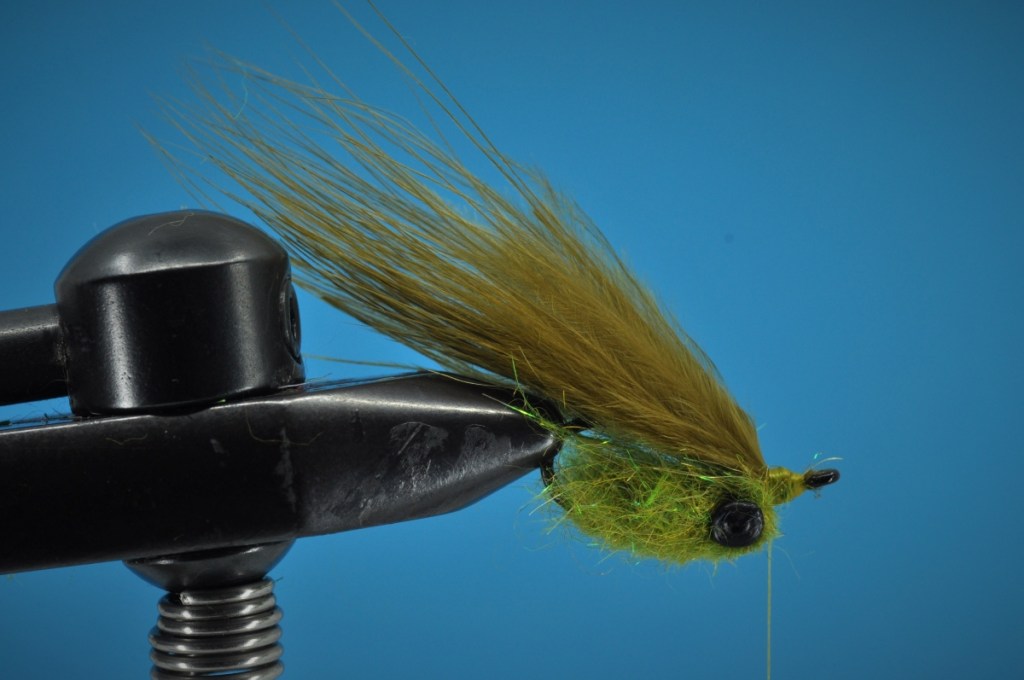
With that intention in mind, I thought I’d kick things off with a carp pattern that I’ve been meaning to tie for a while now. A classic drag-and-drop offering from Jay Zimmerman, the Backstabber Carp Fly seems to check all the boxes for an ideal carp fly. It rides hook point up, imparts plenty of motion from its marabou wing, and simply has the type of buggy appearance that drives carp wild. Additionally, its slightly larger profile (up to 3”) should prove advantageous when targeting fish in murky waters.
| Materials: | ||
|---|---|---|
 Gamakatsu SL45 (#6) Gamakatsu SL45 (#6) |  6/0 or 140-Denier (Olive) 6/0 or 140-Denier (Olive) |  Bead Chain (Med.; Black) Bead Chain (Med.; Black) |
 Marabou (Olive) Marabou (Olive) |  SLF Dubbing or equivalent SLF Dubbing or equivalent |  India Hen Soft Hackle (Olive) India Hen Soft Hackle (Olive) |
Disclosure: This post contains affiliate links. A small commission may be paid for purchases made through these links.
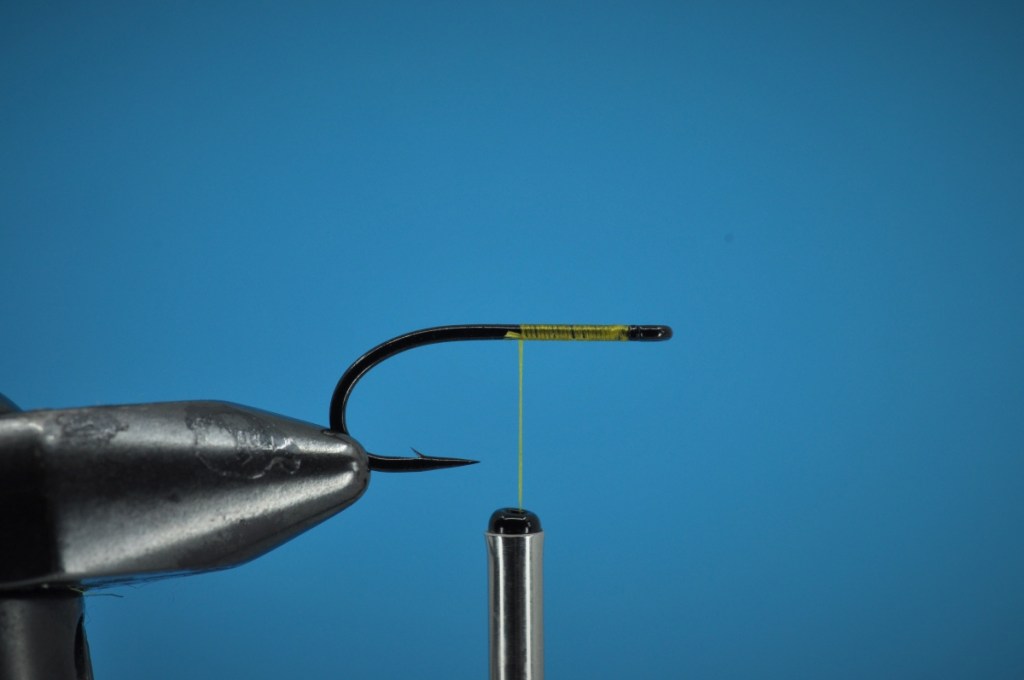
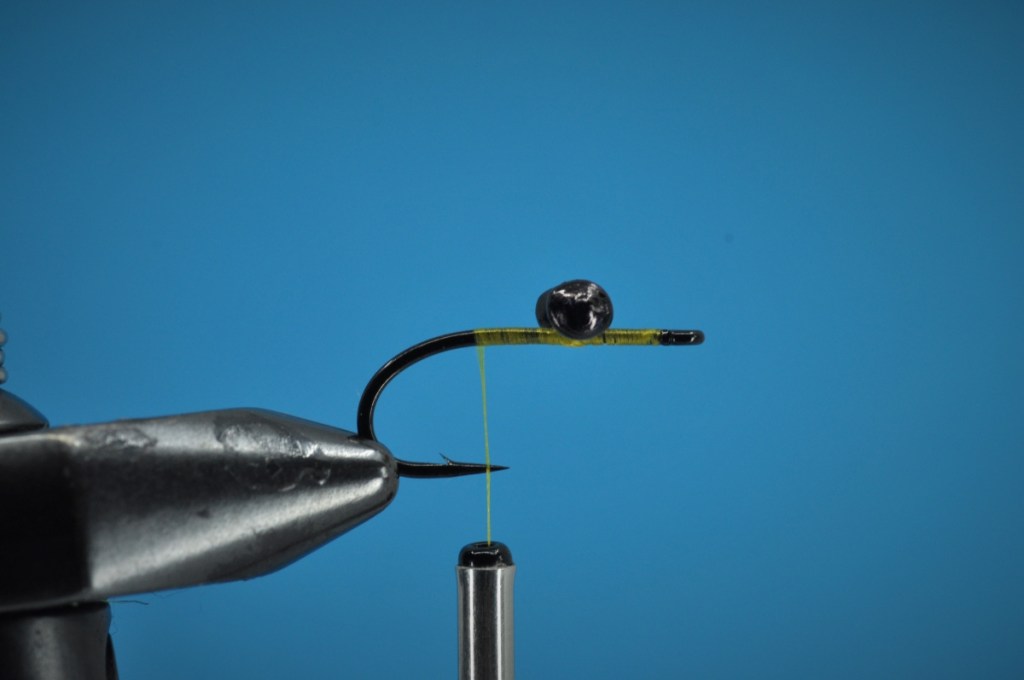
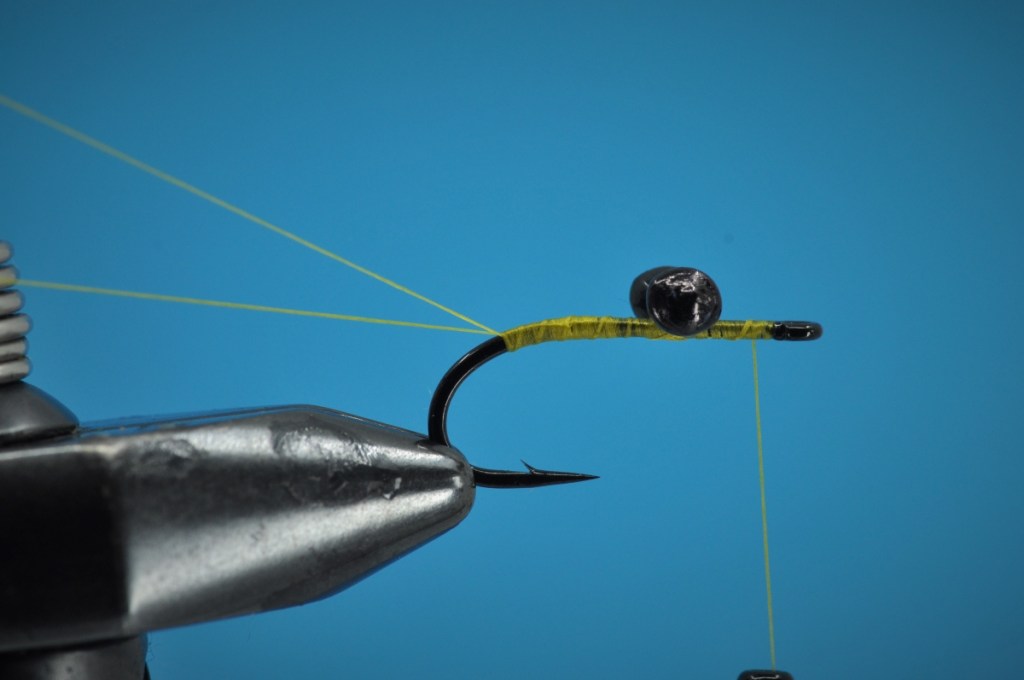
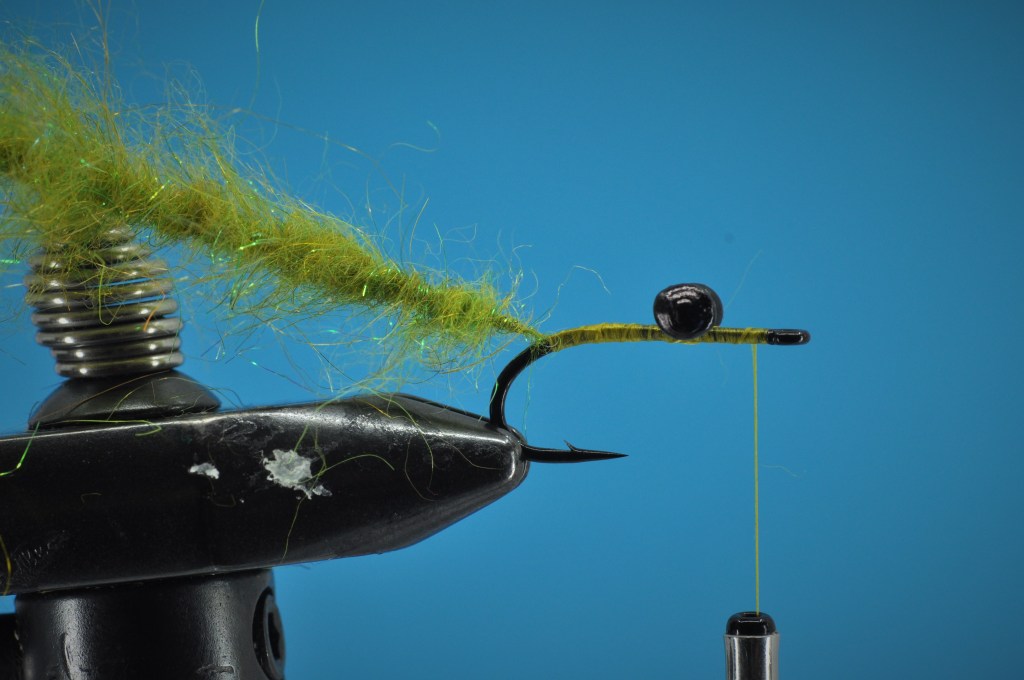
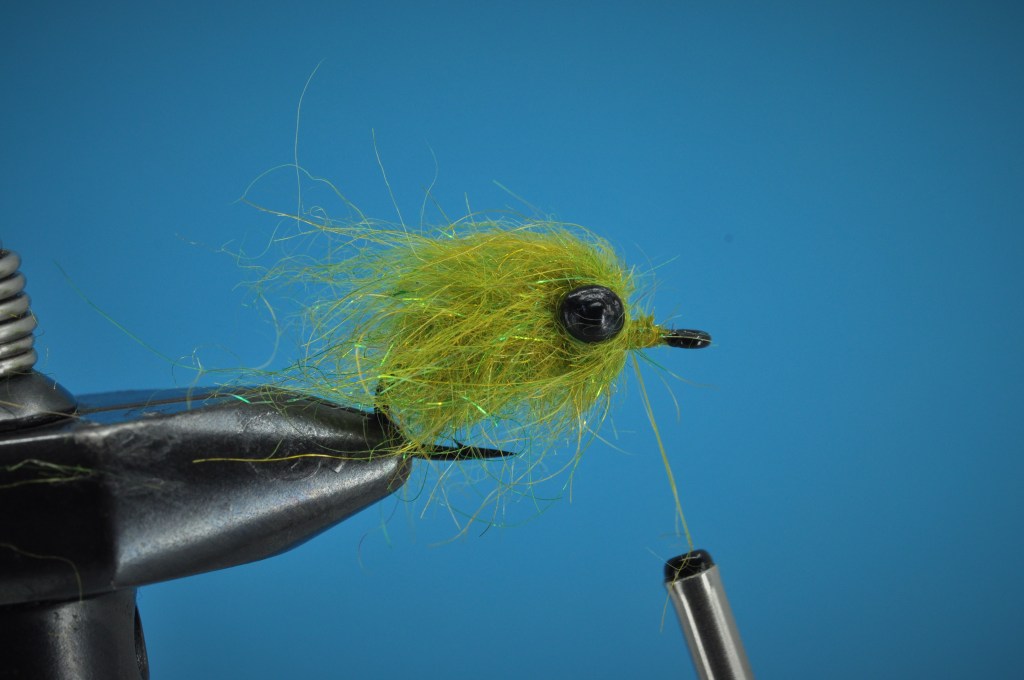
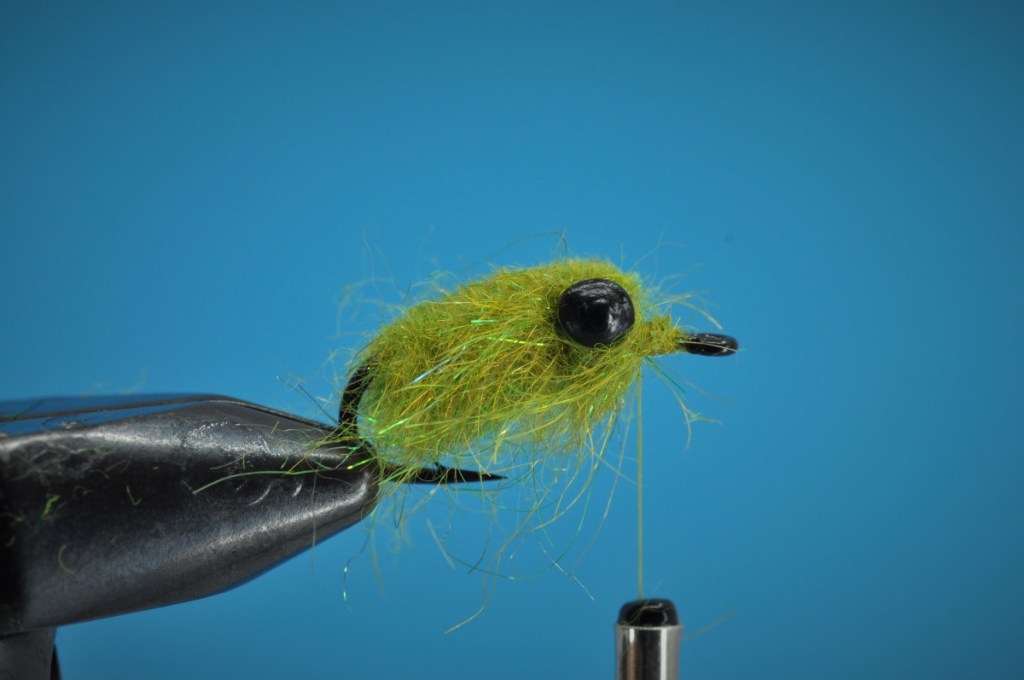
Backstabber Carp Fly Step-by-Step Tying Instructions:
(Mobile Viewers: Click images to enlarge or rotate phone to landscape)

Tips and Tricks
- Color Selection – As with most carp flies, this pattern can be attempted in a range of “carpy” colors. I selected olive for my example as the local carp showed an affinity for olive flies on a recent trip. However, that doesn’t mean you should overlook various shades of crawfish/rust, brown, tan or black. Zimmerman’s original was tied in black, but even he notes the value of other shades depending on water conditions and the local fish.
- Adhesives and Carp Flies – At least among fish, carp have a renowned sense of smell. While that doesn’t stop everyone from using super glue, flex seal or Zap-a-Gap in their fly design, it is enough to give me pause. Personally, I’d rather catch a few fish before my fly falls apart as opposed to not catching any fish due to the smell of my fly. This isn’t to say you can’t use these adhesives and fixing agents on your fly, just keep in mind that they may be the problem if carp keep refusing your offerings.
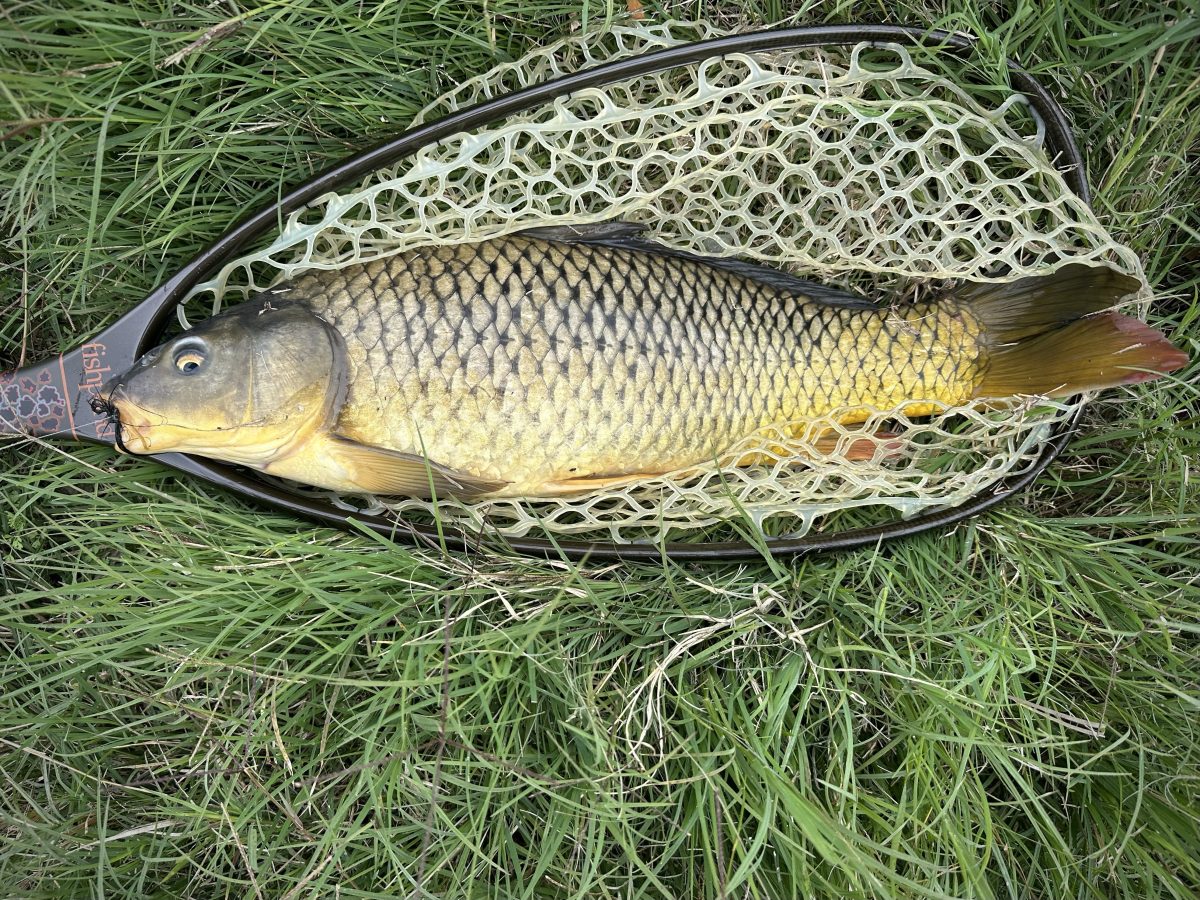
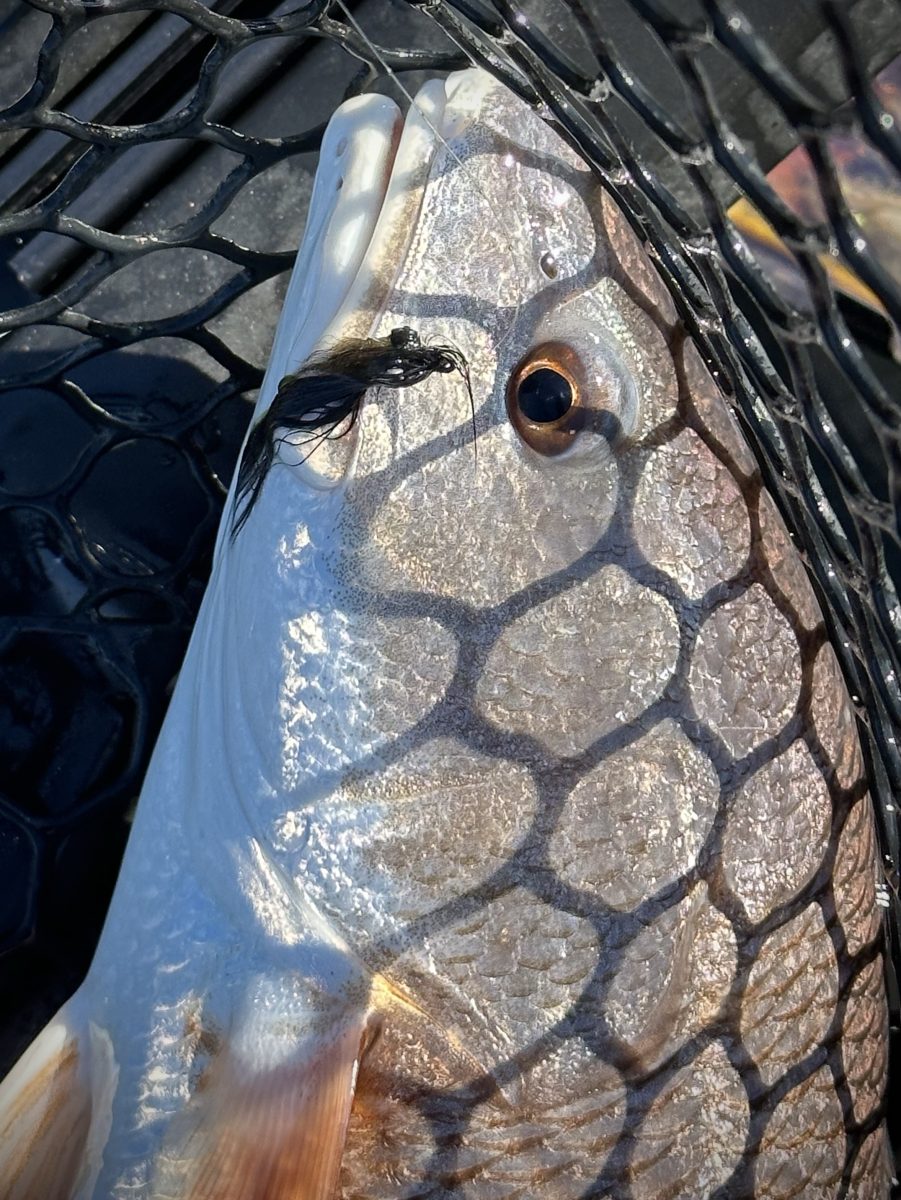
Proof of Concept
While carp took a backseat to other pursuits in 2023, I decided to kick off 2024 with a New Orleans carp hunt. Faced with off-colored water, the carp consistently refused (or simply couldn’t see) the smaller offering on the end of my line. Swapping to a larger (#6) Backstabber quickly resolved that issue as the carp shown inhaled it on my third cast.
Tight Line!
Chris
Enjoy our Content?
Subscribe below to be notified anytime a new Step-by-Step is added.
Support our Content
Enjoy our content & want to help support our work? Consider clicking one of the Ads below the article if something catches your attention. Each click brings in a small bit of revenue to help offset the cost of maintaining & hosting this great site!
Nice one!